| | LRK Home | | Bio Info | | Krash Khronicles | | LAROKE | |
| | BettyLou | | BillyBob's Garage | | Rat Patrol | | Deerslayer | | Elvira | |
| | Land of the Free and Home of the Brave | |
| | Keppylou's Art | | WWI Soldier's Diary | |
BillyBob Work-in-Progress Log
![]()
WHAT'S NEW is a chronological listing of updates to the BillyBob site.
![]()
TRUCK LINKS including vendor sites for old parts, custom parts, and tools as well as sites for classic car and truck organizations
STORE Operating in association with Amazon.com, books, recordings and tools can be purchased.
PLANNING for the restoration including project schedule and cost estimates.
![]()
TRAVELS WITH BILLYBOB With apologies to Steinbeck, this area of BillyBob's Garage will be used to log the trips BillyBob and I make together.
WORK-IN-PROGRESS is the restoration of parts of BillyBob that I can accomplish without a garage.
PRE-RESTORATION includes log entries of minor repairs and adventures between time of purchase and the time when I started restoration, a piece at a time.
JR'S KORNER JR's Korner is the history of BillyBob before I got him authored by my brother, Wm. C. Kephart.
![]()
BILLYBOB MAINTENANCE Ever changing detailing, oil change, lube, etc. maintenance routines specifically developed for BillyBob, including required tools, materials and procedures.
PARTS SHOP The Parts Shop is a repository of How-To articles. Things that I have done over and over enough times to have developed a procedure. This gives me a checklist and saves brain cells.
STEALTH SHOP Urban residence design with large integrated shop and separate living quarters for a relative or renter.
![]()
You will need the Adobe Acrobat browser plugin to view these wiring diagrams which are in the PDF file format. This format allows zooming and panning. If you don't have this plugin, it can be downloaded and installed (free) from the Adobe site. The button below will take you there.
![]()
BILLYBOB WIRING DIAGRAM Here's the wiring diagram updated with BillyBob's current state 'cepting the third-party strap-on turn-signal director.
STRAP-ON TURN-SIGNAL DIRECTOR/BRAKE LIGHT CIRCUIT This turn signal and brake light circuit diagram shows the current state of the third-party turn-signal director wiring, which will remain in place until I figure out the problems with the OEM turn-signal director. It also shows the OEM headlight switch.
59. More of This n That
November 30th 2008 I got a lot of helpful comments on the last episode. I'm gonna repeat 'em here so I have 'em all in one place when I get back to the oil pan and seal when the oil needs changed again. The first comment comes from "Chev Nut" at vccachat.org:
First error. Rubber seal fits only 1955 and up blocks. Your 1955 1st Design has a 1954 engine. The grove in the cap and block are too large and will leak. Note how easy it went into place. A rope seal must be used. ..or the rubber seal could possibly be shimed in place some way. If the bearing clearance is to loose removing shims will reduce the clearance. This will cause less oil flow past the bearing and less for the seal to controll. See shop manual about removing shims for bearing adjustment. Should have from .001" to.002" clearance. To install the pan gasket the side gaskets must be stuck up onto the block first. The little tangs on the ends must slip into the notches on the main bearing caps. Then the end corks get installed into the groves on the caps. The end of the cork must contact the tab on the side gasket. Then the pan is installed. I use grease to hold the gaskets in place. Makes removal of gasket much easier if I need to remove the pan again. The old factory gasket end corks were cork and came pre-bent so they stuck up in there all by them selves. If your modern hard coek and rubber gaskets are straight pre-bend them to help keep them in place. Also the are a very hard material and the pan bolts may require several gental re-tightenings. Would recommend a lighter oil rather than #50, with 15W-40 the most....10-30 is fine. Chevrolet never even recommended a #40 oil. last year I removed the oil pan on my 1957. I had installed it about 20 years ago and used no cement, glue, etc. I thought I would never get it broken loose. After about two hours it finally broke loose by wedeging a stiff putty knife between the pan and block plus a pry bar.
Lonnie Gallaher at Stovebolt.com reminded that stainless steel bolts "gall". Bricks and concrete "spall". Sorry 'bout that. I shoild know better and I do now until my next senior moment. Don G. followed up with a tip if a bolt does gall:
Little off track here but everyone using SS. Bolts If you happen to get one that galls on you just mix a little lite oil and valve grinding compound to loosen it up. Just squirt some on the bolt threads or arounfd the bolt and let it soak in down around the threads for a few minutes. You then can then move it back in forth most of the time. It may be only a little bit at first but keep putting the oil mixture around the bolt evenually the bolt will come free. We have used this method a lot of times around food machinery. Believe me it beats having to drill and retap a hole in the equipment.
Ken Cluley of the old-chevy-trucks maillist sent me his pan gasket tips:
As always, really enjoyed your "episodes" with billybob. If you have to change the oil pan out again you might try putting the end gaskets on the bearing caps instead of the pan. I was having the same problem with getting them seated when putting them on the pan. They would always seem to move a little bit and cause leaking. I then put both end gaskets on the block with just enough adhesive to hold them in place. Then put a dab of gasket sealer in each corner. Hasn't leaked yet!
And Nate Hall, despite the painkillers hampering him, wrote the following:
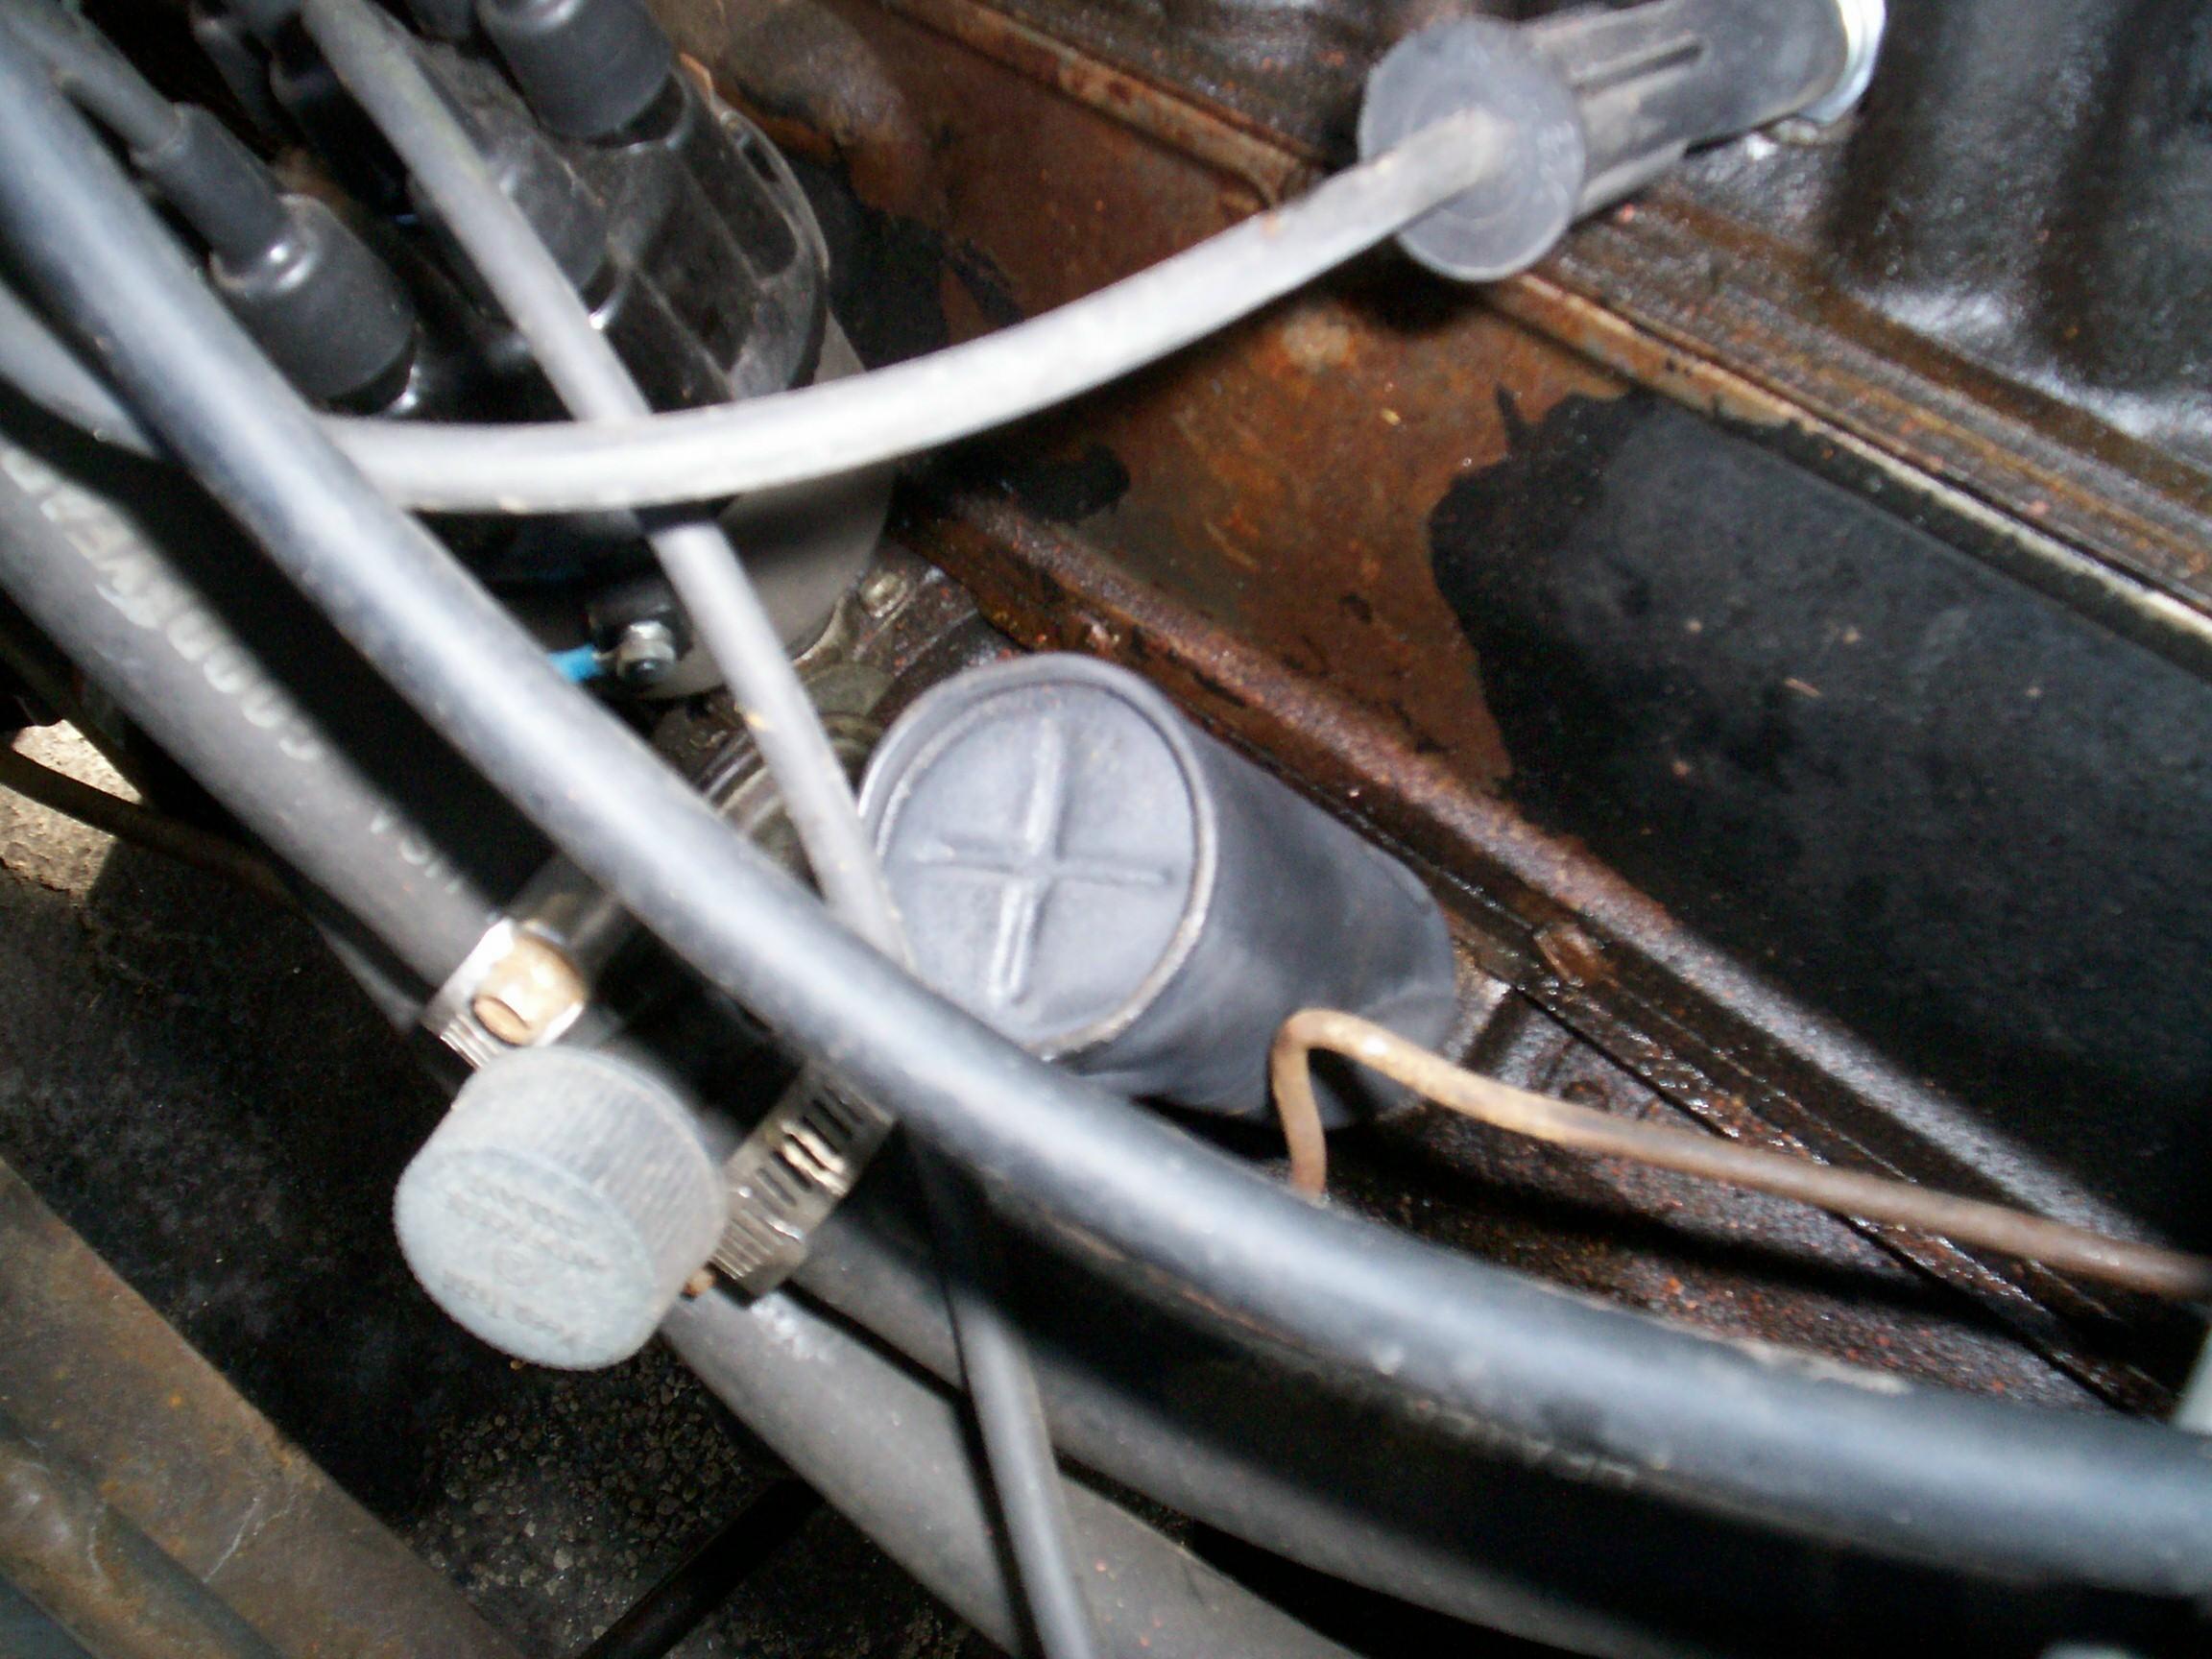
I usually replace the main bearing shells when I do rear main seal jobs as they can be worn * just enough * to allow the crankshaft to sit a tiny bit low....... Good call on the magnetic drain plug , don't be askeert when some crud attaches to it , that's normal . The road draft tube is _very_ important ! if you remove it , oil will burp out the open hole . They do get all sludged up and the best & easiest way to clean 'em out is on the barbie ~ find an old Webber and get it nice and hot m throw on the Road Draft Tube and wait ~ once it gets really hot all the sludge inside it will begine to burn and it'll smoke like crazy , let it go until the smoking stops , be aware the smoke is terribly stinky , this is a weekend when no boss or SWMBO is around typ of job . DO NOT try to bead blast it ! you _CANNOT_ get all the beads and sludge back out of it and the beads will return to the crankcase and trn the oil into fine grinding paste that'll wipe out the bearings and journals... no foolin' . Once it's all burned out , flush it clean , wire brush until shimy then re-paint with gloss black paint like it was when new , NOT matte finish like some think . New correct ' Stove Bolt ' screws for attaching the oil pan are indeed available and best of all , they're Amnerican made ! .
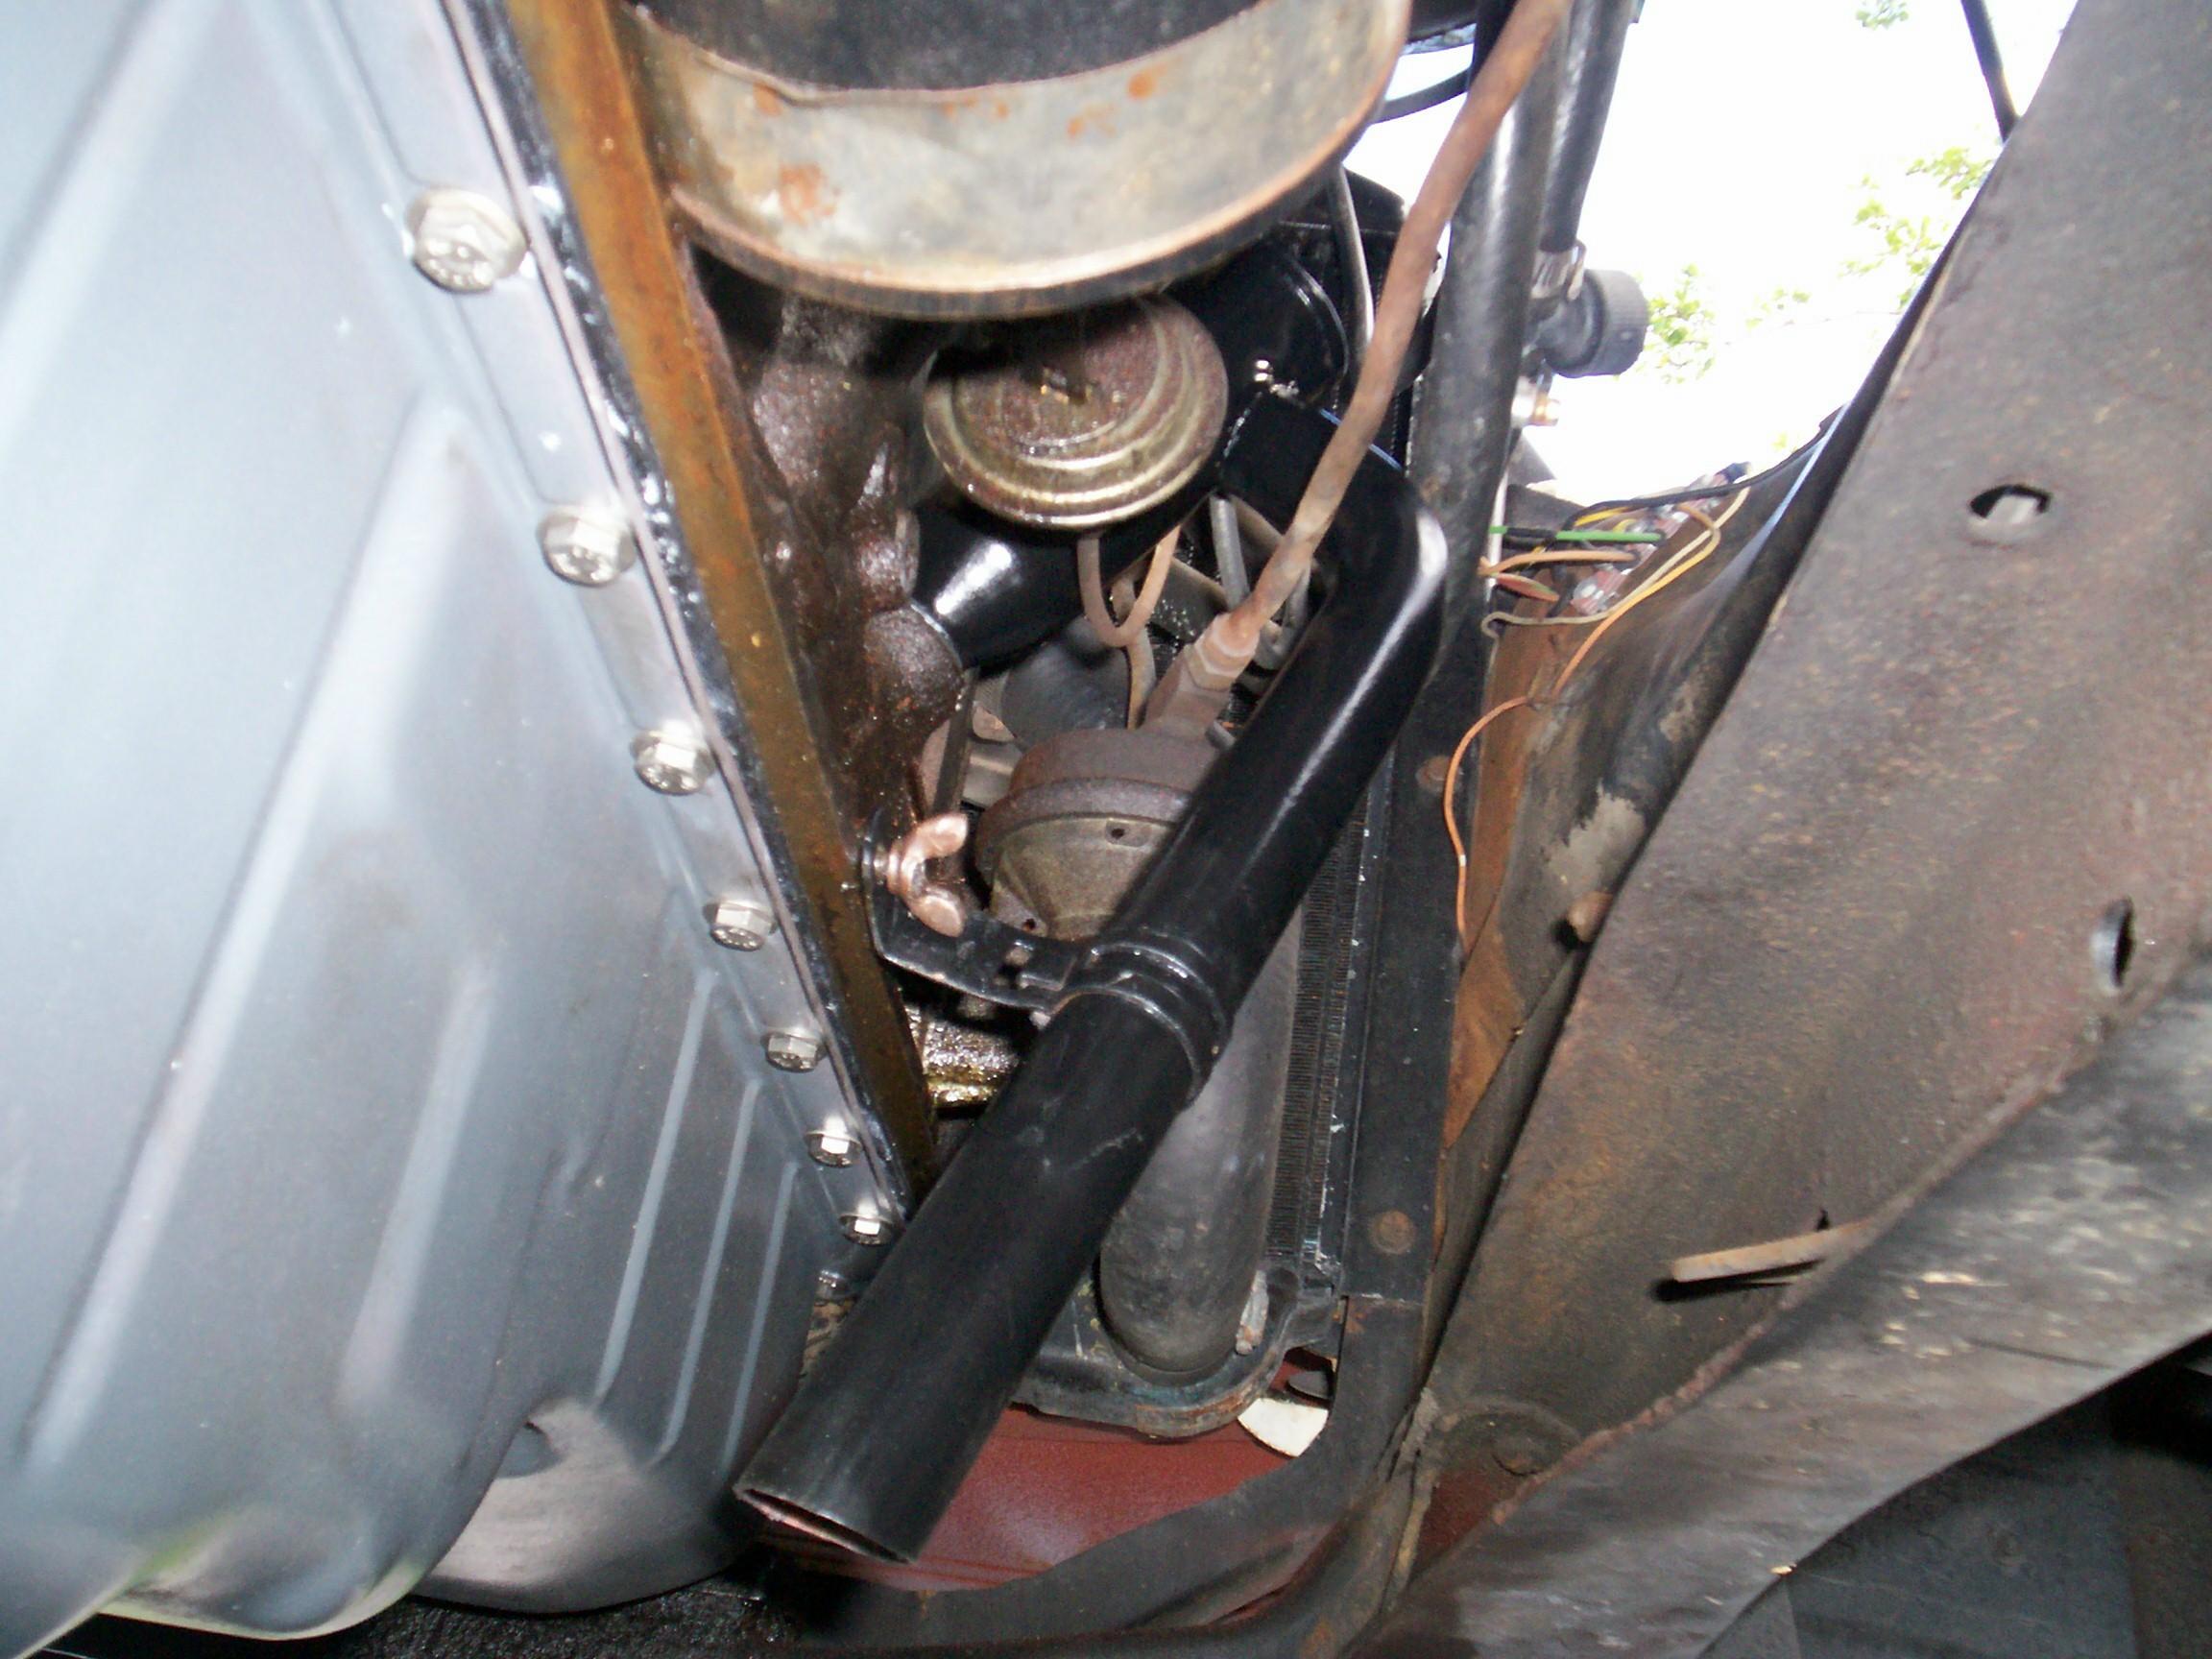
This is the last day of the Thanksgiving weekend. We've had three excellent weather days here in the shadetree garage and I got work done on Deerslayer, Renegade and BettyLou. Today is BillyBob's day and he is getting the short end of the stick. It is rainy and windy. I'm not getting much done. I got rained on three times while I was fiddling around with the road draft tube. The Boss showed up in the '39 Caddy and Boca Raton's mayor and her first dude visited to see if the Caddy could be used as her car in the Christmas parade. Derek asked me last week if I could spare some time to work on the Caddy's convertible top today. The weather being such a mess, we postponed that too.
I've nebber been a muscle beach guy and what capability I do have is fading with the years. I defer to Archimedes when i can. I like leverage. I grabed one of my 14' rachet tie down straps out of BillyBob's travel supply boxes and started rigging it up between the draft tube and the passenger side engine bay support rod. Then it rained again. ~!@#$%^
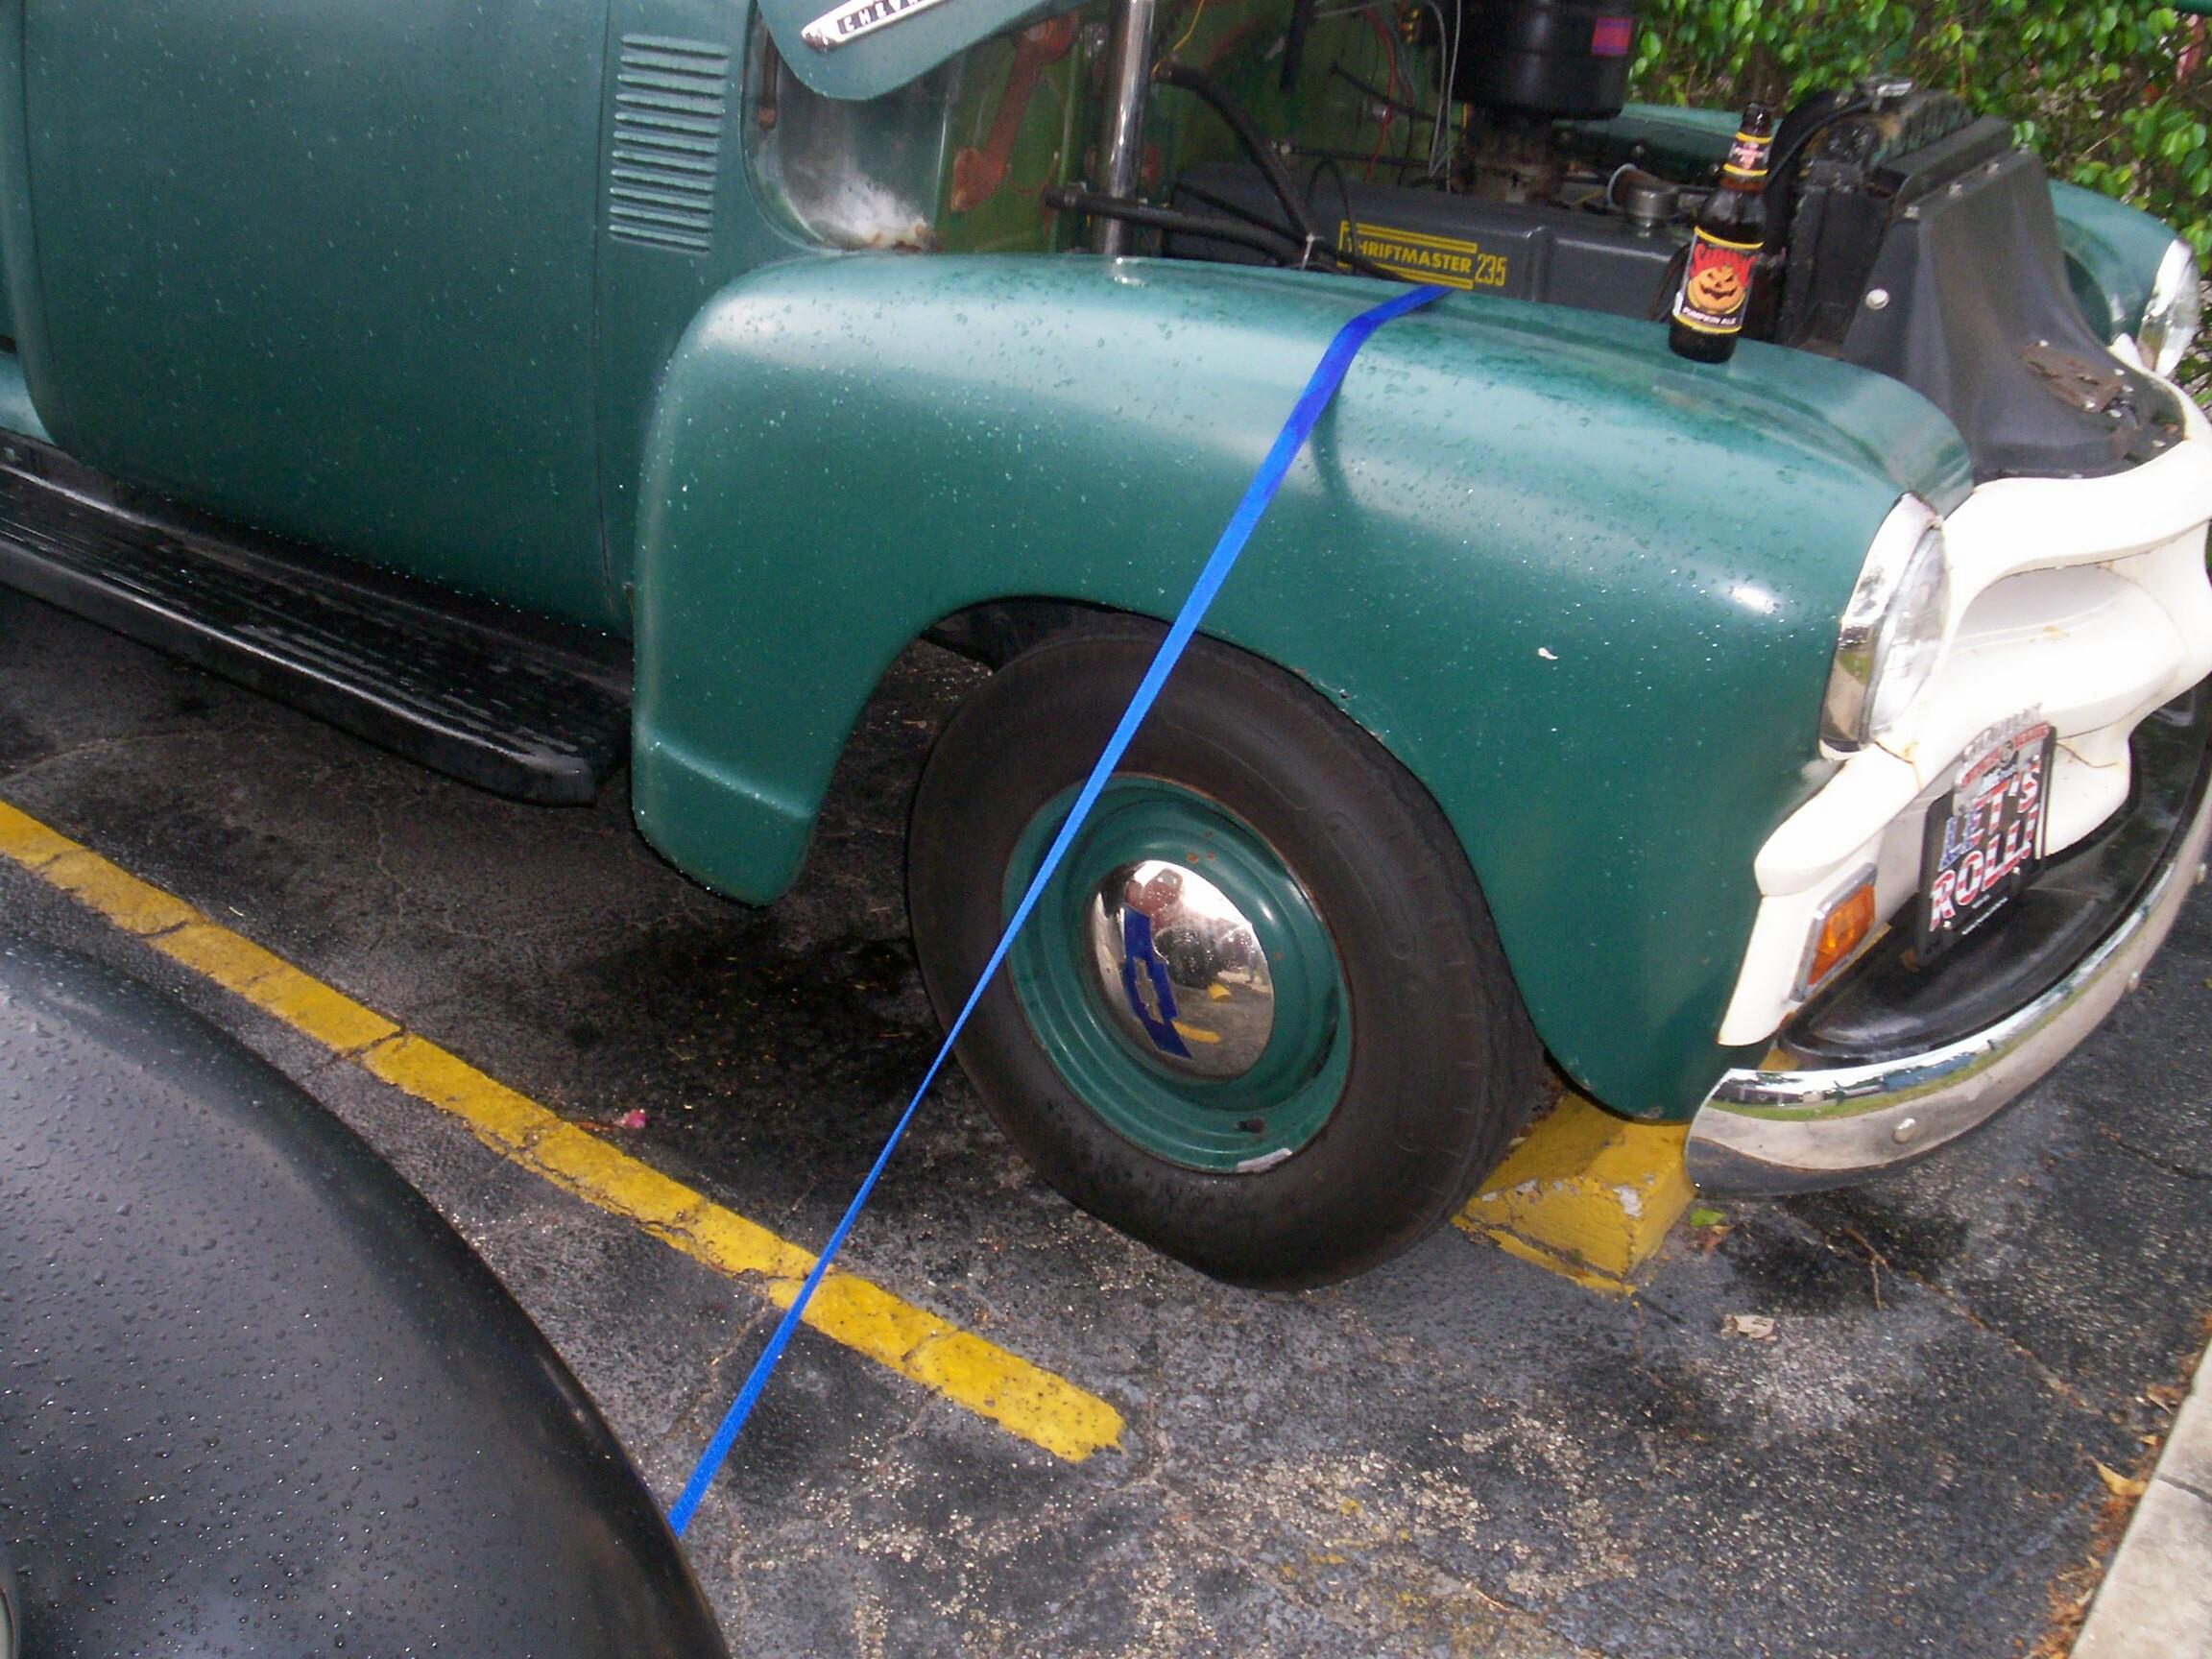 The
rain helped this time. Ratchet tie downs work well for their intended
length. There is too much takeup on the strap for shorter lengths. I
wuz planning on butchering this tie-down by cutting the strap to make
it work. The rain interuption giving me more time to think about the
problem, I opted to put the anchor end of the tie down on Deerslayer
instead of the support rod. The tie down didn't have to be destroyed
that way. Using the strap to put tension on the draft tube while I
tapped it back n forth with rubber mallet, wood block and brass hammer
got it out in short order. I used heat and penetrating oil quench at
first but quickly quit when I realized how close to the fuel pump I
was. Thank you for the mulligan, Lord. Then it rained again . . .
harder.
The
rain helped this time. Ratchet tie downs work well for their intended
length. There is too much takeup on the strap for shorter lengths. I
wuz planning on butchering this tie-down by cutting the strap to make
it work. The rain interuption giving me more time to think about the
problem, I opted to put the anchor end of the tie down on Deerslayer
instead of the support rod. The tie down didn't have to be destroyed
that way. Using the strap to put tension on the draft tube while I
tapped it back n forth with rubber mallet, wood block and brass hammer
got it out in short order. I used heat and penetrating oil quench at
first but quickly quit when I realized how close to the fuel pump I
was. Thank you for the mulligan, Lord. Then it rained again . . .
harder.
After the draft tube was out and safely away from the fuel system I started going over it with the torch. The MAPP gas was low on fuel and I ran it out roasting the draft tube. I'll pick up another tank during the week to finish the job. I did what I could inside the Krash Lab as the weather worsened. No cruise in tonite. The Thanksgiving beer of the day is Saranac Pumpkin Ale. This stuff is an aquired taste . . . That's gonna take more than the three bottles shipped to me.
 December
6th 2008 Good day.
Started out chilly but warmed up quickly. I got off to a late start but
it was a good one. Met up with my friend John Ray and his truck
"Sherwood" at the local coffee shop. I haven't seen him since he
stopped off at the Krash Lab and gave me some cigars to take with me on
the McCungie Run. Sherwood has been laid up for nine months while John
did a brake job. He's faster than I am. He and several passerbys got
the Deerslayer tech review. I think I've got John talked into coming to
some of the local cruise-ins.
December
6th 2008 Good day.
Started out chilly but warmed up quickly. I got off to a late start but
it was a good one. Met up with my friend John Ray and his truck
"Sherwood" at the local coffee shop. I haven't seen him since he
stopped off at the Krash Lab and gave me some cigars to take with me on
the McCungie Run. Sherwood has been laid up for nine months while John
did a brake job. He's faster than I am. He and several passerbys got
the Deerslayer tech review. I think I've got John talked into coming to
some of the local cruise-ins.
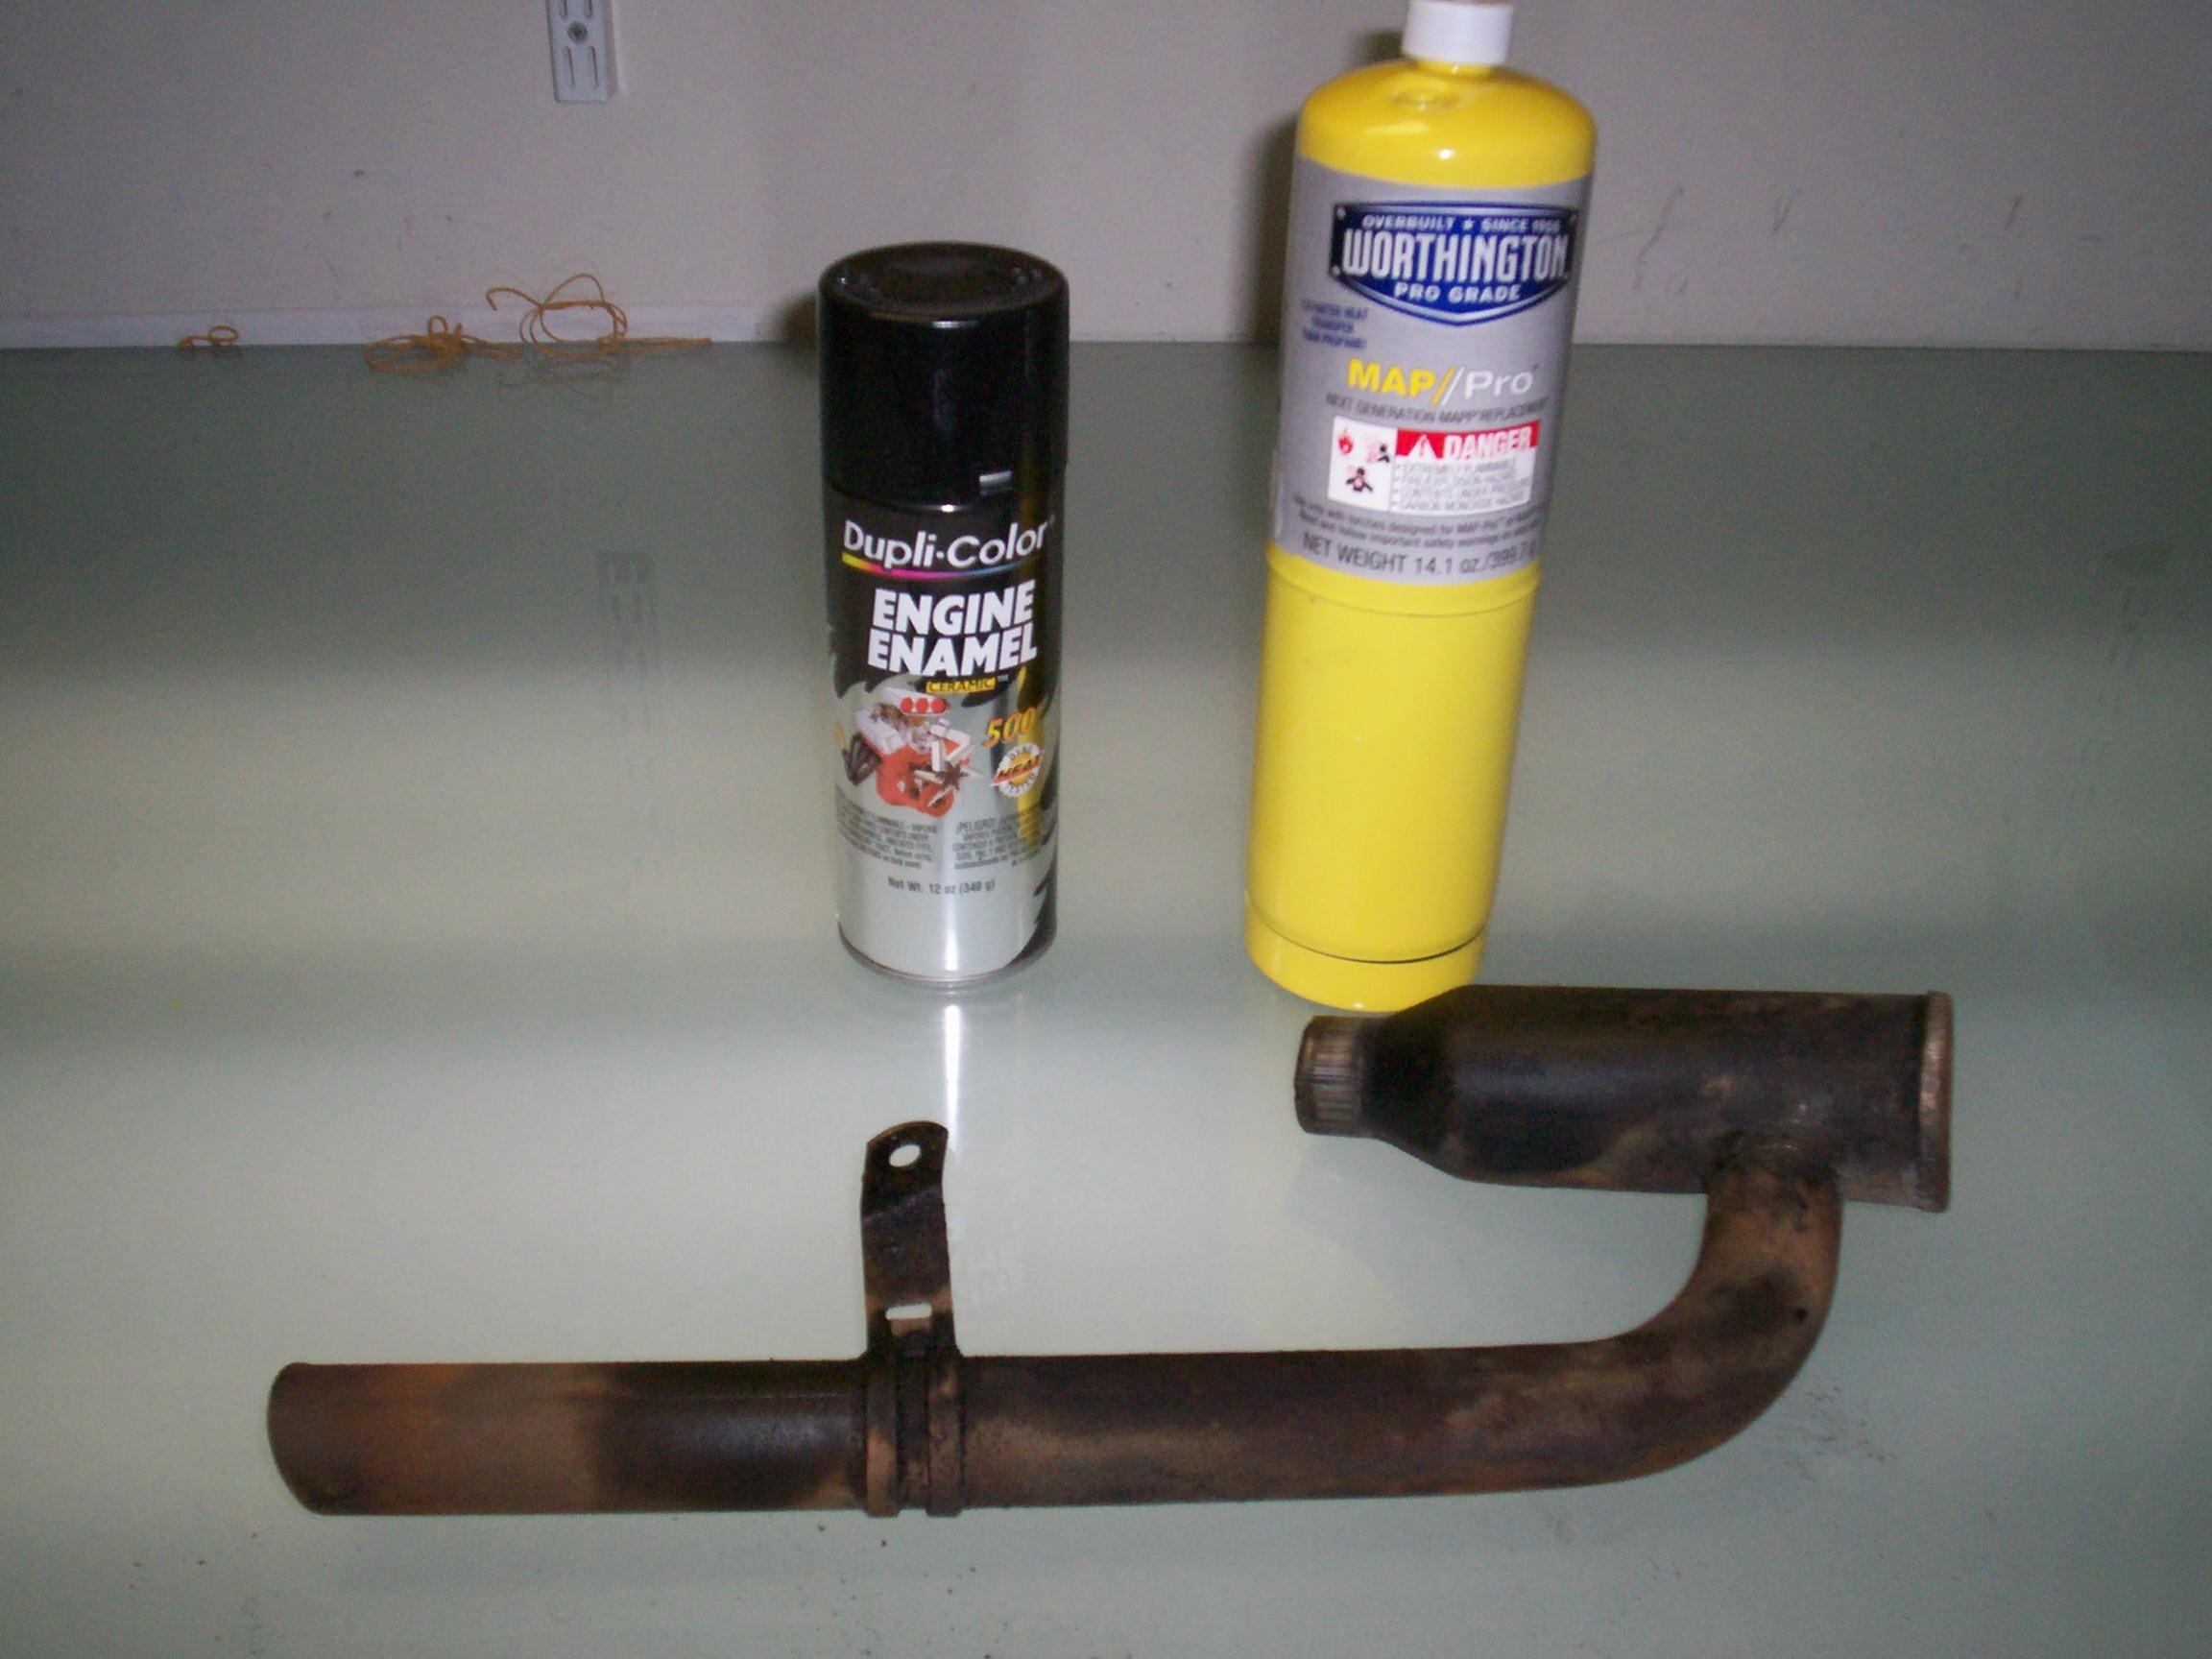 It
was after ten by the time I got started at the Krash Lab. I picked up
some gas for the torch during the week and some Duplicolor Gloss Black
engine paint for the road draft tube. I noticed that this Gas
replacement was "MAP / Pro" not "MAPP" gas. Spent some time on the
intarweb researching it to find out that the MAPP gas company closed
down production and this is a replacement that is basically the same
stuff, performance-wise.
It
was after ten by the time I got started at the Krash Lab. I picked up
some gas for the torch during the week and some Duplicolor Gloss Black
engine paint for the road draft tube. I noticed that this Gas
replacement was "MAP / Pro" not "MAPP" gas. Spent some time on the
intarweb researching it to find out that the MAPP gas company closed
down production and this is a replacement that is basically the same
stuff, performance-wise.
After some door handle work on Deerslayer, I went after the road draft tube with the MAP gas torch. After three sessions the gas was almost gone and so was the smoke coming out of the road draft tube. I had a beer and a cigar while it cooled down. The cigar was contraband. A friend had given me a couple and asked for my opinion. I'm no authority on fine cigars but here goes. I didn't think the draw was good but I'll put the other one in the humidor for awhile and see if that makes any difference. It didn't go out on me like some hard draw cigars are apt to do. It was a fine, smooth smoke. Something I would equate to a ten dollar cigar but I don't think it tasted any better than a ten dollar cigar by free cuban expatriot cigar makers in Costra Rica or other central america nations. I think part of it is the "forbidden fruit" mystique. In the early seventies, here in south Florida, the holy grail of beers was Coors. When it came to be sold here, people quit buying it. It doesn't seem to be much more than flavored water to me now. My friend doesn't know what all the hoopla is about either but it's still a free ten dollar cigar and I enjoyed it thoroughly.
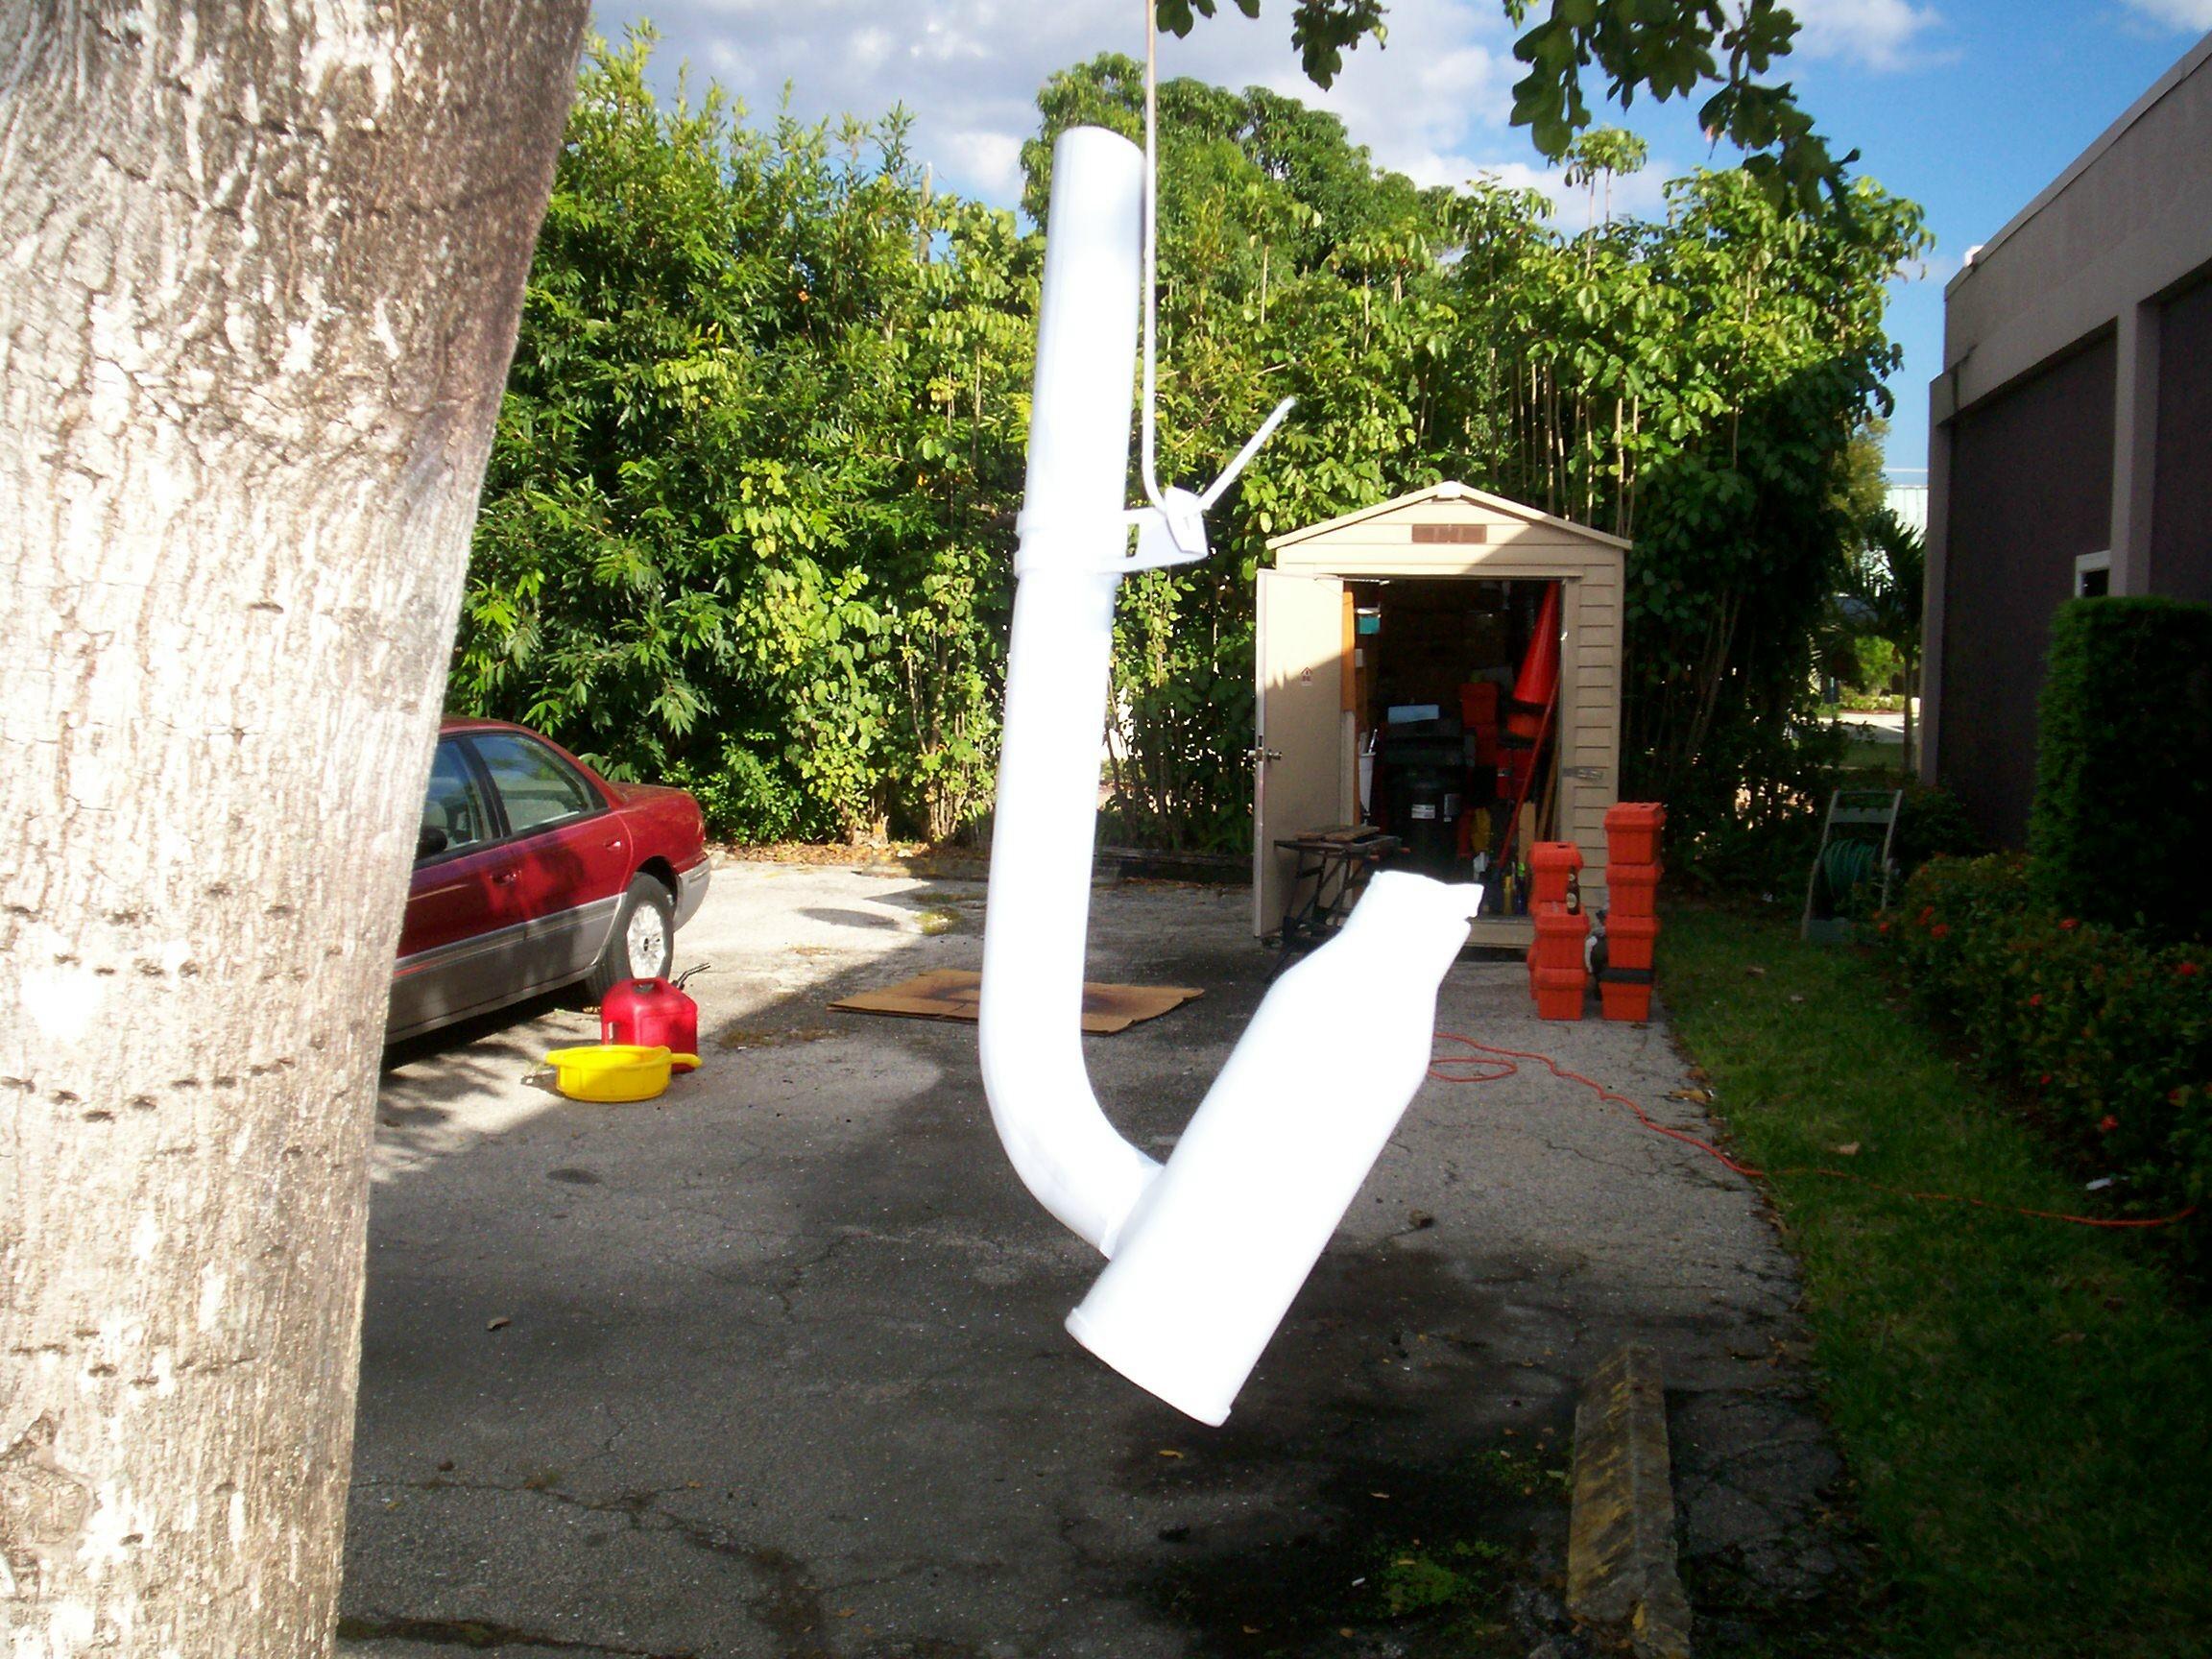 After
the cigar, I got the residue out of the road draft tube and went over
it with the wire cup in the electrical angle grinder. Masked off the
part that inserts into the block and hung it up in BillyBob's tree. PRE
Paint Prepped it and gave it a coat of Eastwood's Self-Etching Primer.
I was waiting for that to cure when the lawn service guy showed up. I
put everything away in the shed and hung it up for the day. Beer of the
day is Wild Goose Brewery's Oatmeal Stout . . . It has a bit of a kick.
After
the cigar, I got the residue out of the road draft tube and went over
it with the wire cup in the electrical angle grinder. Masked off the
part that inserts into the block and hung it up in BillyBob's tree. PRE
Paint Prepped it and gave it a coat of Eastwood's Self-Etching Primer.
I was waiting for that to cure when the lawn service guy showed up. I
put everything away in the shed and hung it up for the day. Beer of the
day is Wild Goose Brewery's Oatmeal Stout . . . It has a bit of a kick.
 December
13th 2008 Chilly and
sunny this morning. Did some maintenance on Deerslayer and got back to
the road draft tube. Last sunday, I took Deerslayer to a big car show
but I gave the road draft tube a couple of rattlecan coats of the
Duplicolor Gloss Black Engine Paint before I headed off. Something went
wrong and the paint came out mottled and flat. I don't have time to fix
that now. I have to have BillyBob ready to go back up to the warehouse
tomorrow and trade places with Renegade so the tube is going back in
the truck for now.
December
13th 2008 Chilly and
sunny this morning. Did some maintenance on Deerslayer and got back to
the road draft tube. Last sunday, I took Deerslayer to a big car show
but I gave the road draft tube a couple of rattlecan coats of the
Duplicolor Gloss Black Engine Paint before I headed off. Something went
wrong and the paint came out mottled and flat. I don't have time to fix
that now. I have to have BillyBob ready to go back up to the warehouse
tomorrow and trade places with Renegade so the tube is going back in
the truck for now.
 After
I got the road draft tube back on, I turned my attention to the
three-on-the-tree gear shift mechanism. It feels like it's tightening
up some but I'm not shure. You have a better feeling for these things
when you drive the truck everyday. The last
time the gear shift got tight, the yoke threads in the
mounting knuckle galled and I had to get a replacement. Lucky for me,
Mothertrucker (Joe Mendola) had one for sale.
After
I got the road draft tube back on, I turned my attention to the
three-on-the-tree gear shift mechanism. It feels like it's tightening
up some but I'm not shure. You have a better feeling for these things
when you drive the truck everyday. The last
time the gear shift got tight, the yoke threads in the
mounting knuckle galled and I had to get a replacement. Lucky for me,
Mothertrucker (Joe Mendola) had one for sale.
I wanted to correct the situation this time before that happens, if possible. Took off the steering wheel and turn signal director. Removed the shift lever assembly and unscrewed the knuckle. The chassis grease I put in here, way back, was dried up and gummy. I got it off with carb cleaner and replaced it with fresh chassis grease. Re-assembled the mechanism and hooked it back up. That's better. It works cleanly without resistance again.
January 1st 2009 New Year's Day I behaved myself last night but it's still a laid back day. Cool and a little breezy in the shadetree garage this morning. Removed the draft tube again. It came out easily. Hung it up in BillyBob's tree, masked and PRE Paint Prepped it. I had picked up a rattlecan of Krylon Fusion in Gloss Black a couple of weeks ago to paint some Renegade parts. I'm gonna see how it does over the splotchy Duplicolor engine paint.
BillyBob is paying me back for my summer of discontent and inattention to him. Rust is breaking out all over. He needs a new barnyard paint job but I've got other items to attend to first. He is the last of the stable to receive the new Wash Wax All treatment. This product from Aero Cosmetics is a one step application for almost any finish. It works on paint, glass, rubber, chrome, wood, etc. You spray it on, agitate it and wipe it off. Leaves a UV protectant coating. Fast and easy and you don't have to wash the vehicle first unless it's been thru a mud bog.
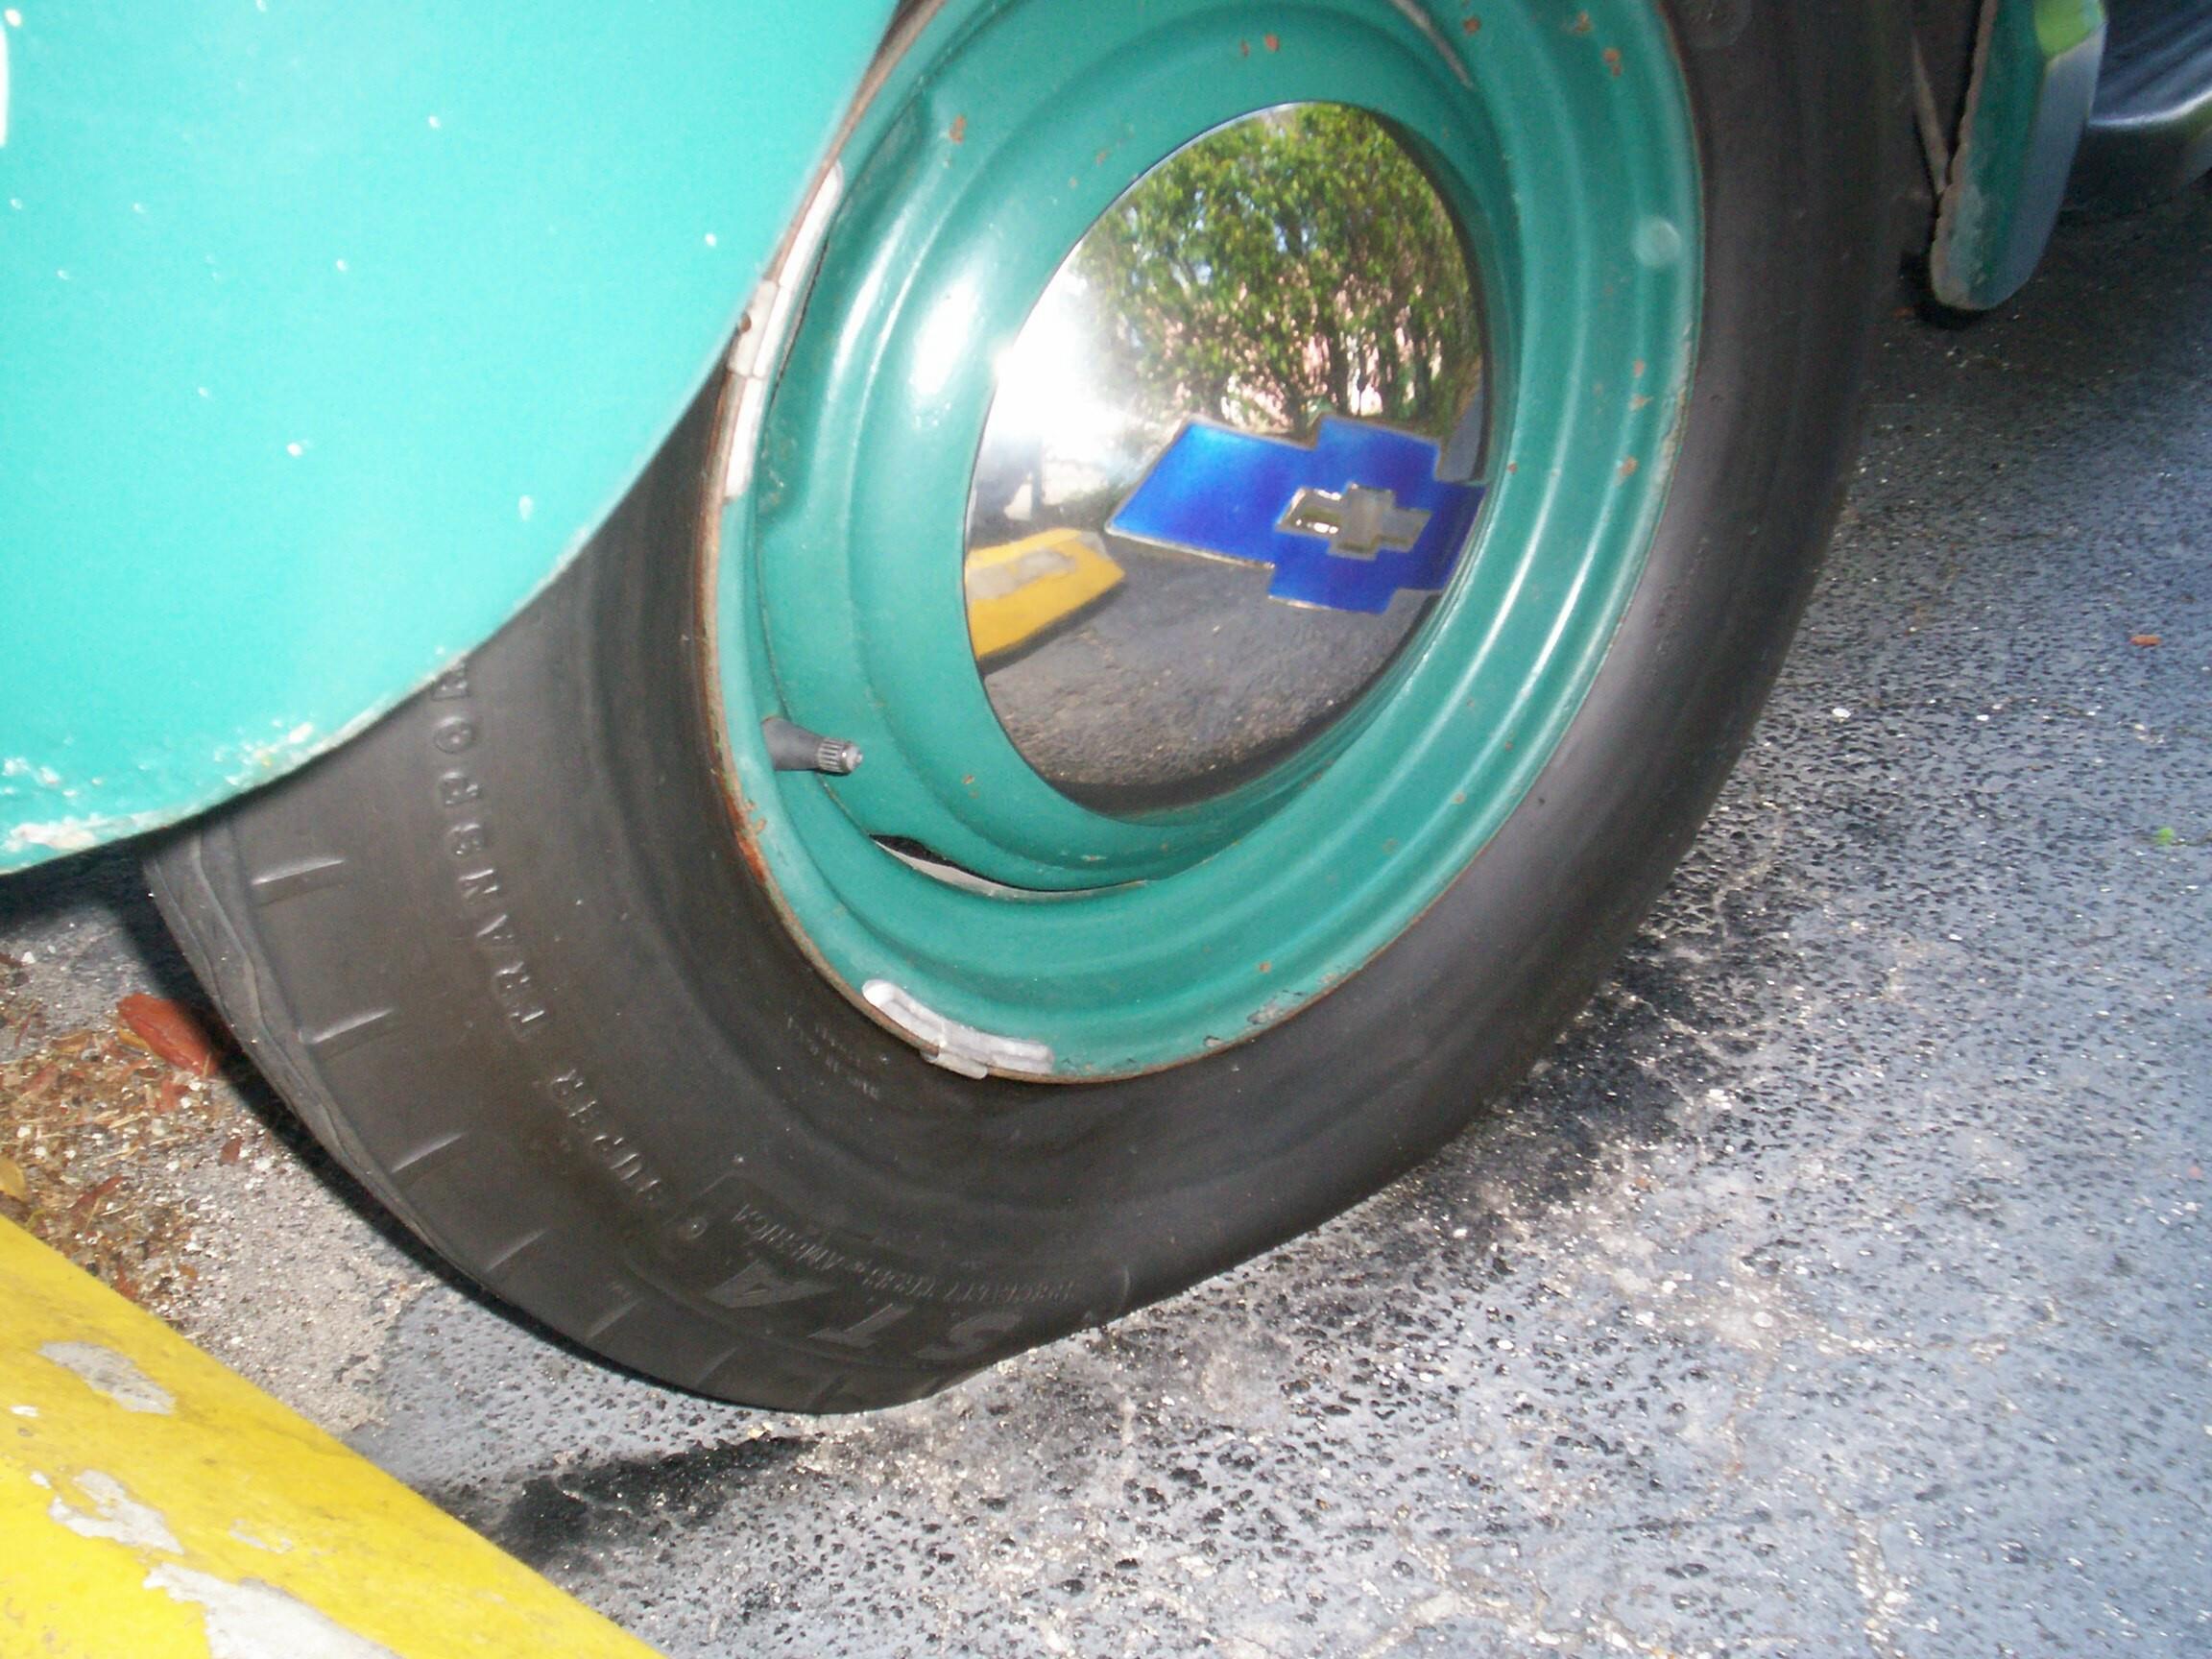 A
week ago, Renegade sat where BillyBob is now. I replaced the Jeep's
rusty side marker light screws with stainless steel screws. I lost one
on the driver side next to the property line hedge. Looked for it for
twenty minutes without success. I just noticed that BillyBob's front
tire is going flat. Further investigation revealed the rusty side
marker light screw in the tread. I couldn't find that ~!@#$%
screw but BillyBob's front tire did. What are the odds on that?
Damnation! There is good luck mixed with the bad as usual. The flat
happened at home and not on the road.
A
week ago, Renegade sat where BillyBob is now. I replaced the Jeep's
rusty side marker light screws with stainless steel screws. I lost one
on the driver side next to the property line hedge. Looked for it for
twenty minutes without success. I just noticed that BillyBob's front
tire is going flat. Further investigation revealed the rusty side
marker light screw in the tread. I couldn't find that ~!@#$%
screw but BillyBob's front tire did. What are the odds on that?
Damnation! There is good luck mixed with the bad as usual. The flat
happened at home and not on the road.
 At
least the Krylon paint worked. Put the road draft tube back in and ran
the engine for thirty minutes. There's a red residue on the front of
the engine and along the driver side of the engine compartment like
primer overspray but I haven't been painting in here. It's a mystery. I
watched the area while the engine was running but nothing changed. The
residue is still a mystery. Time for a beer and a ceegar. The beer of
the day is Blue Moon Brewing Company's Belgian White Wheat Ale.
At
least the Krylon paint worked. Put the road draft tube back in and ran
the engine for thirty minutes. There's a red residue on the front of
the engine and along the driver side of the engine compartment like
primer overspray but I haven't been painting in here. It's a mystery. I
watched the area while the engine was running but nothing changed. The
residue is still a mystery. Time for a beer and a ceegar. The beer of
the day is Blue Moon Brewing Company's Belgian White Wheat Ale.
January 2nd 2009 Wrestled with the spare tire carrier and the third-party sissors jack to exchange the punctured tire for the spare. The Boss may be along any minute to go to a collector car auction, either Rupp in Fort Luderdale or Kruse in Boca Raton. I don't have my work clothes on and I'm trying to do this without getting dirty. The handle on the jack is the worst design I have ever crossed paths with. In the next life, the designer should be made to work with his accursed design throughout eternity changing chariot wheels of the gods. When I was finished, I had a cigar so I could ponder more curses to put on this guy.
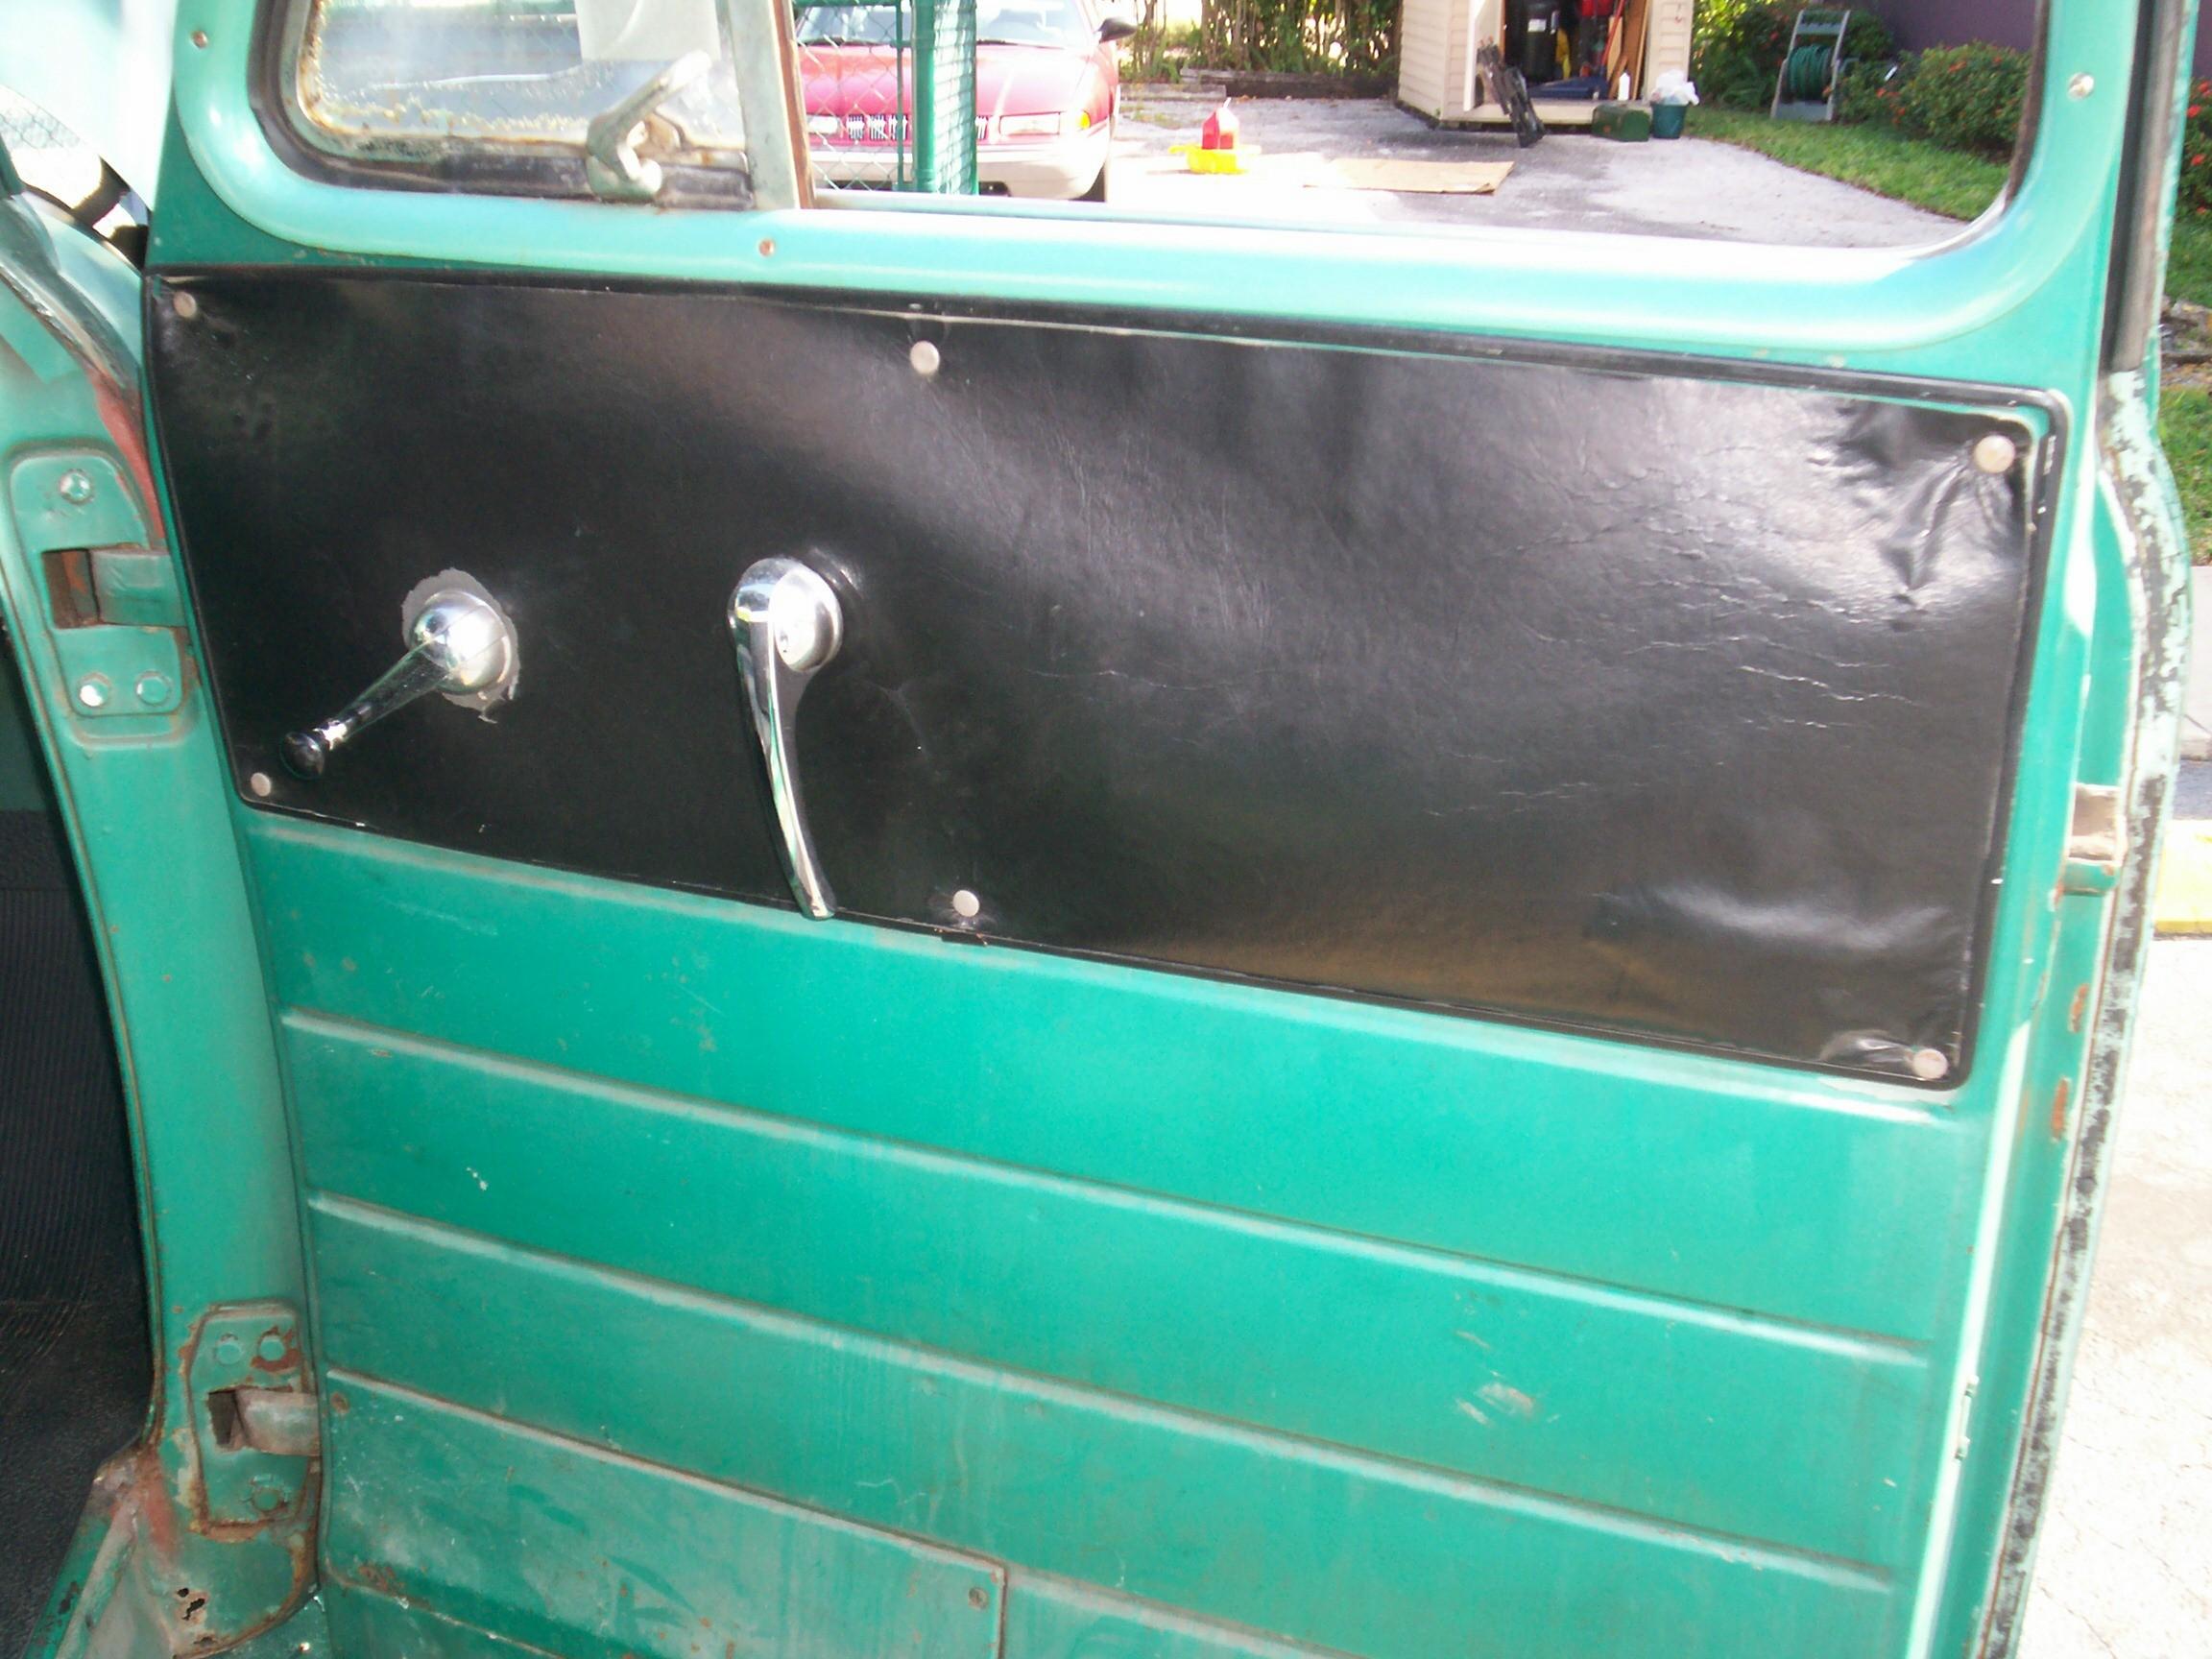 Finally
started working on the doors again. The passenger side door is first.
Fiddled around removing the inside door handle, window regulator
handle, warped cardboard fascia and trim, and the lower access panel.
I'm going to weld up the holes left when I removed the third-party
"West Coast" mirror first. Time to get out the MIG welder and learn how
to use it again. I haven't messed with it, I think, since I finished
the windshield job back in aught-four.
Finally
started working on the doors again. The passenger side door is first.
Fiddled around removing the inside door handle, window regulator
handle, warped cardboard fascia and trim, and the lower access panel.
I'm going to weld up the holes left when I removed the third-party
"West Coast" mirror first. Time to get out the MIG welder and learn how
to use it again. I haven't messed with it, I think, since I finished
the windshield job back in aught-four.
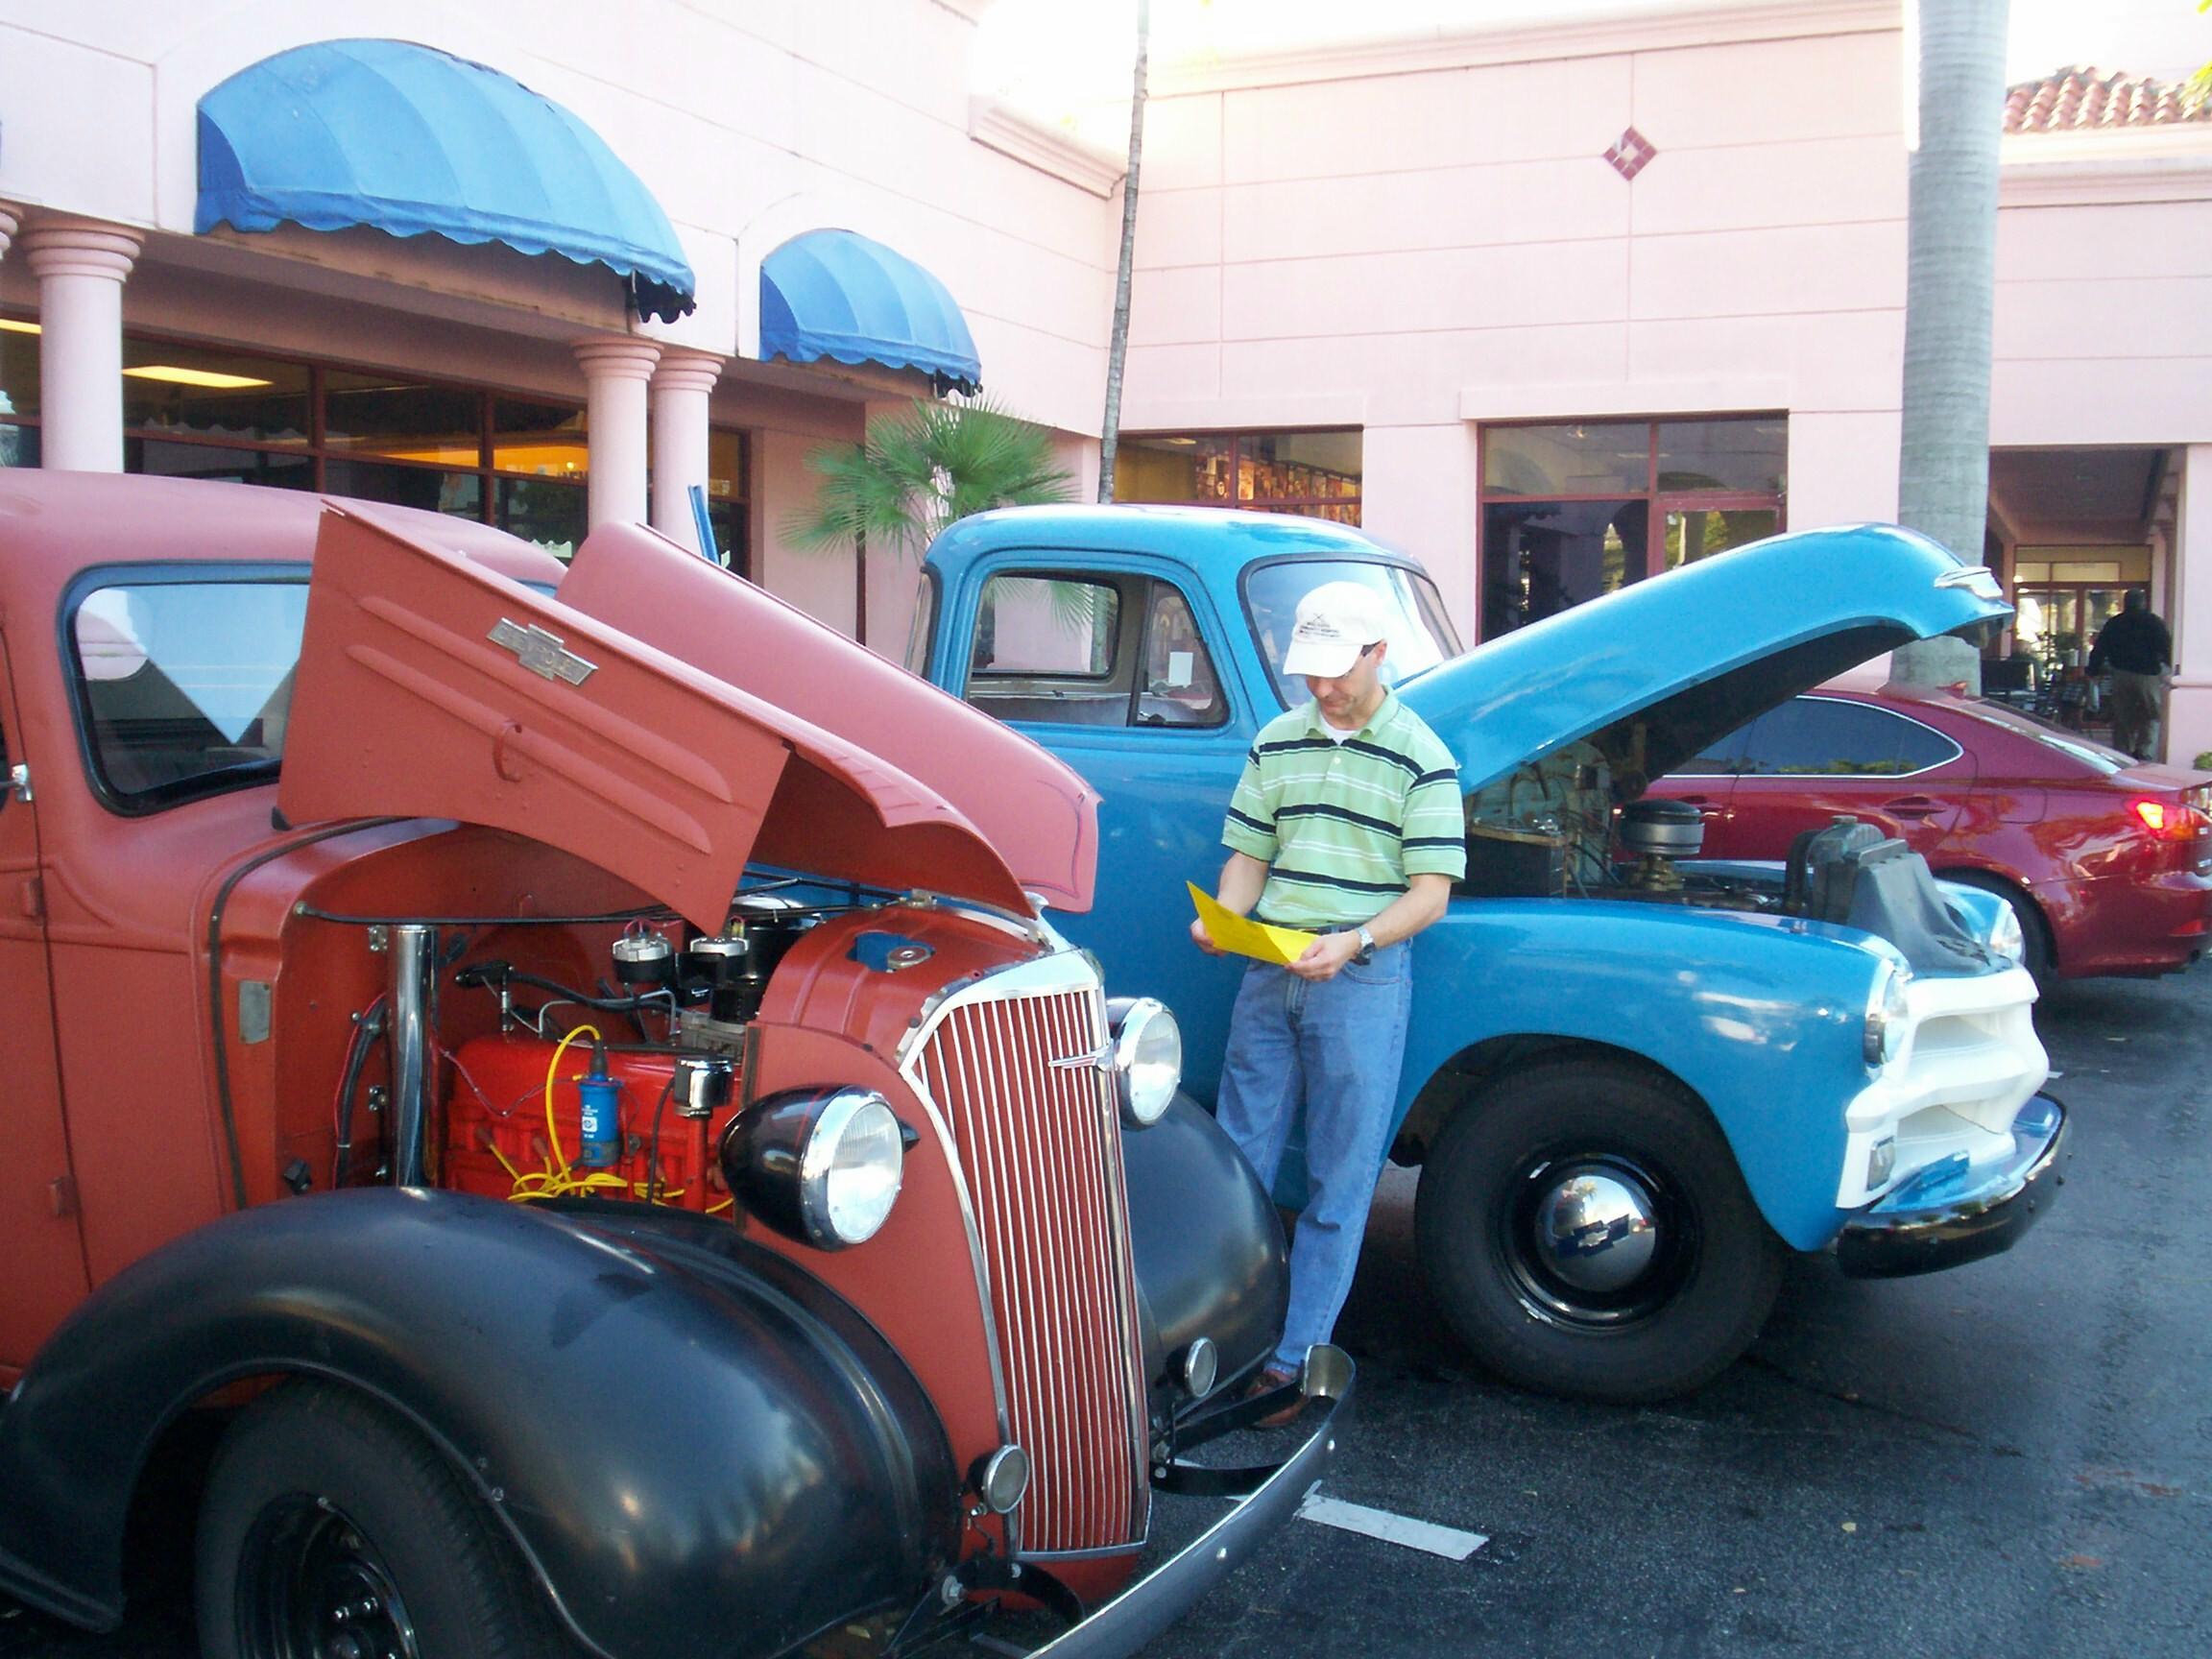
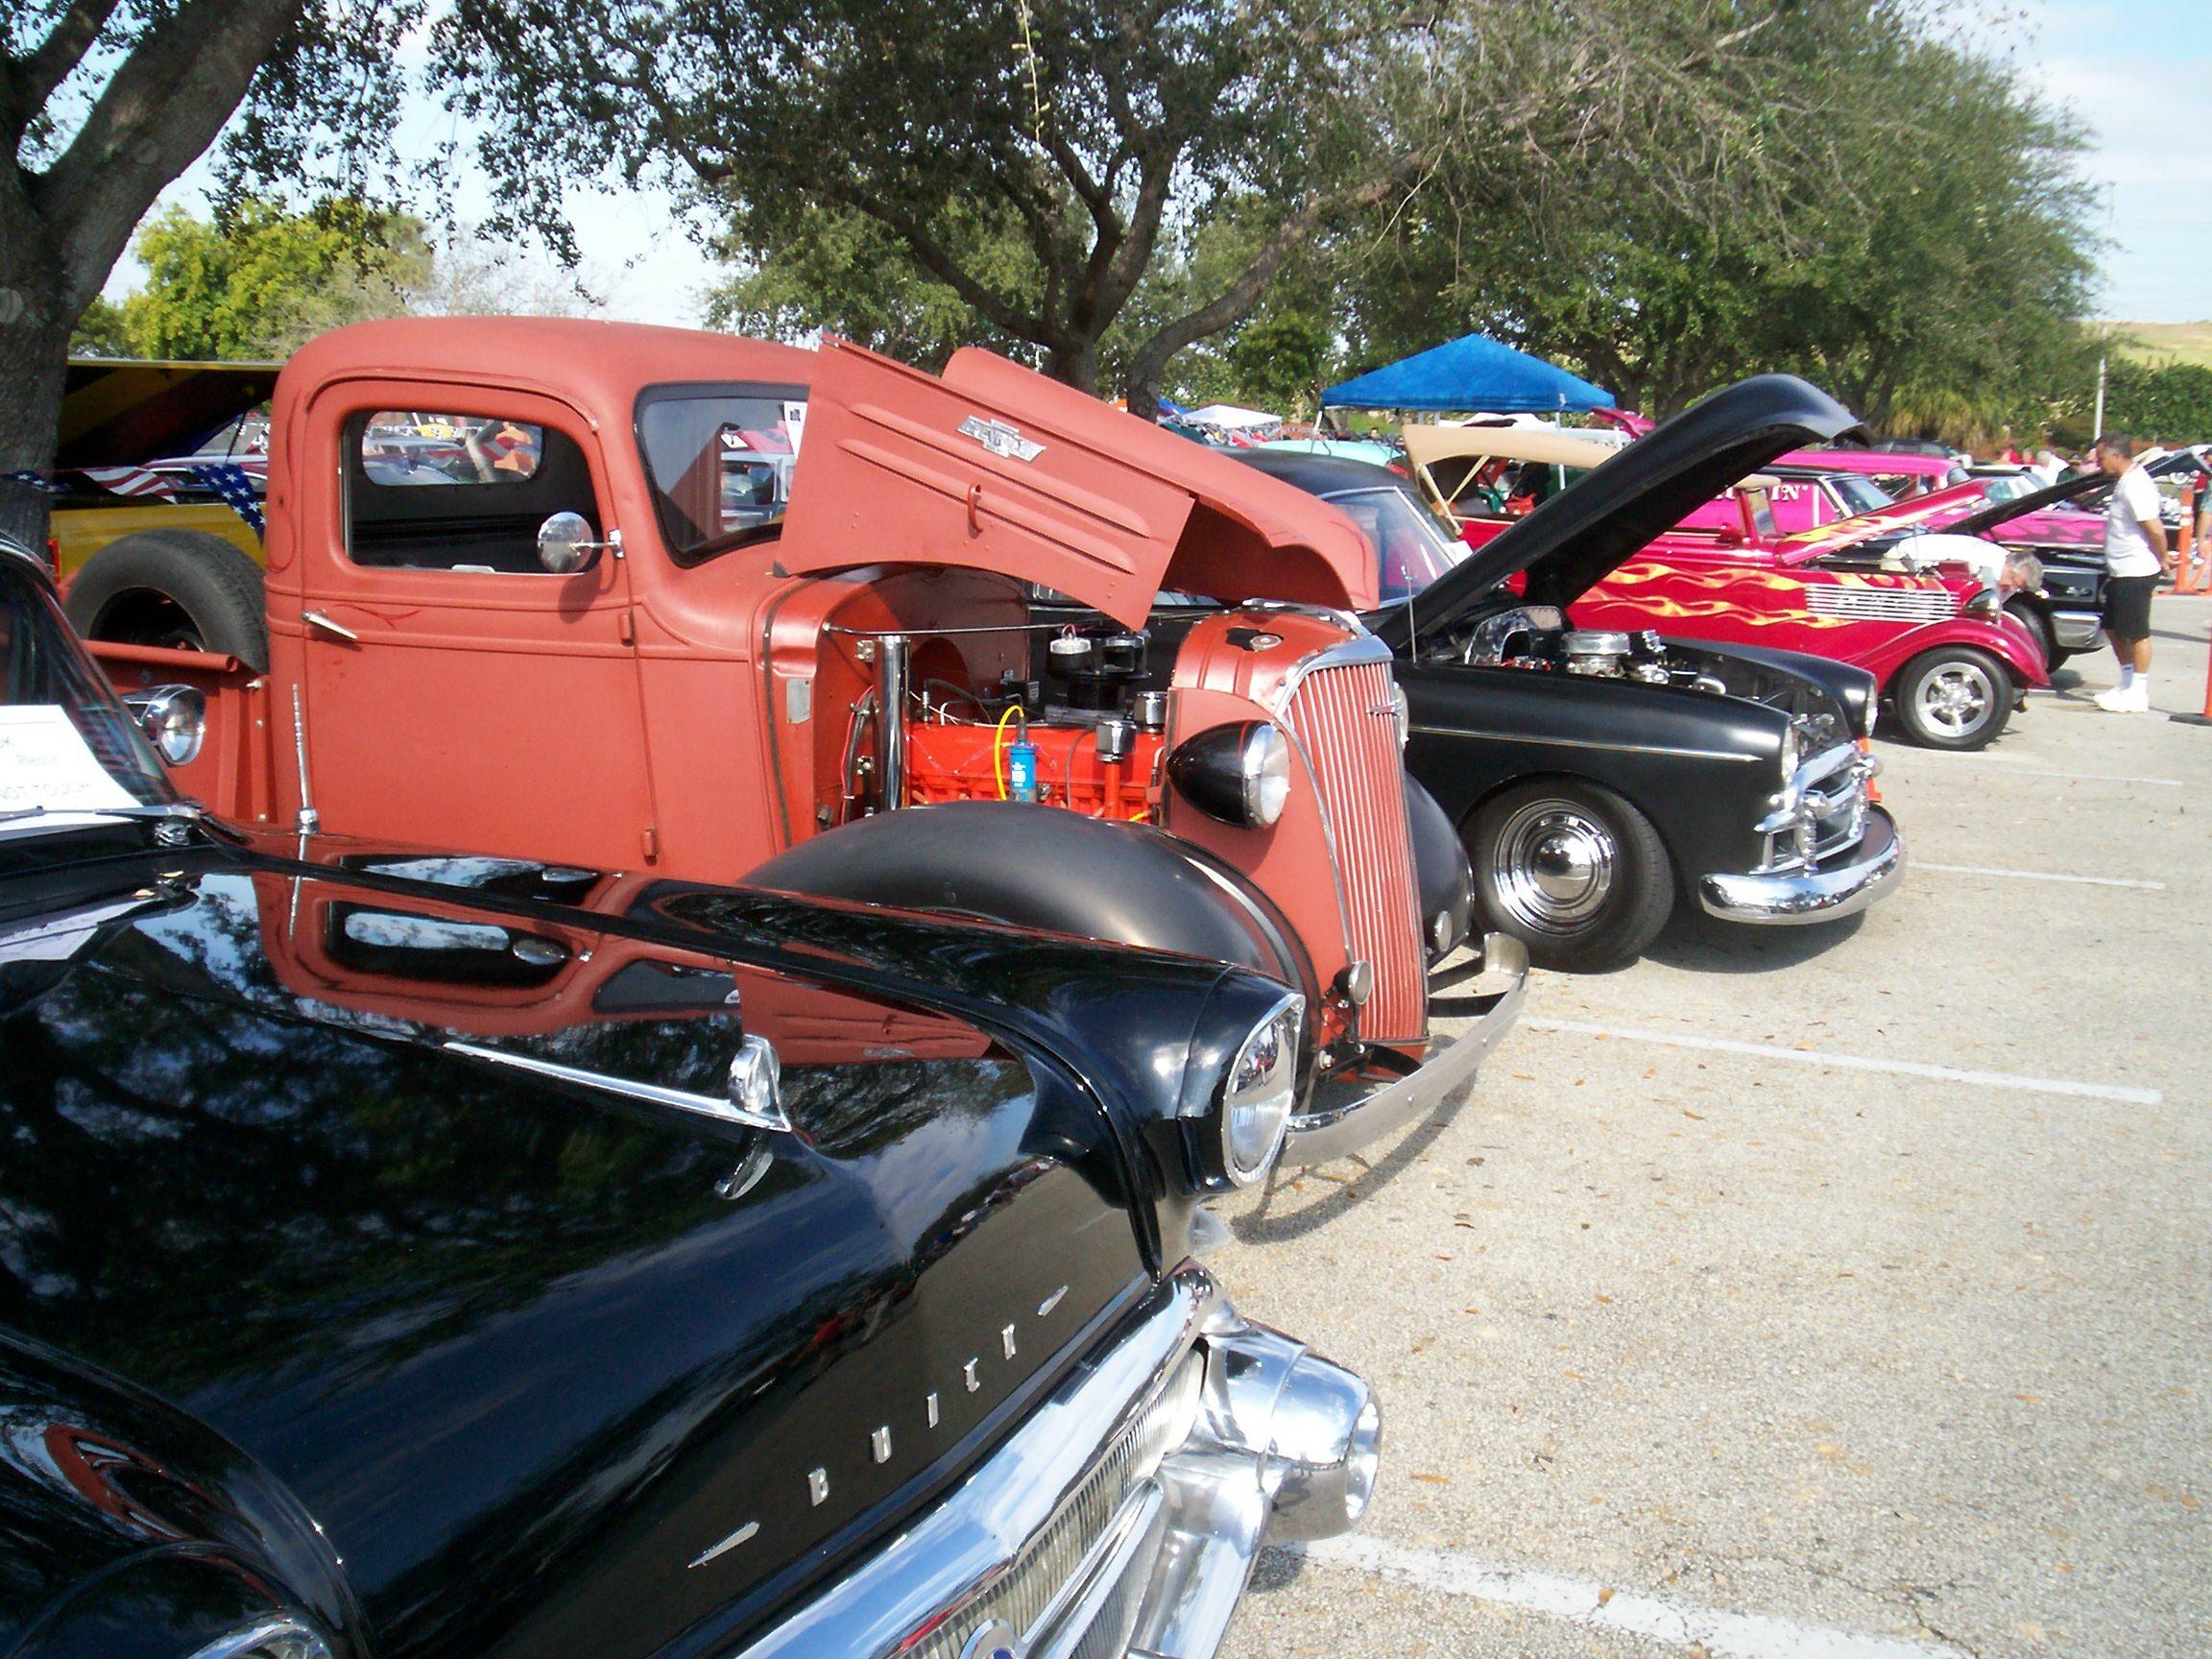
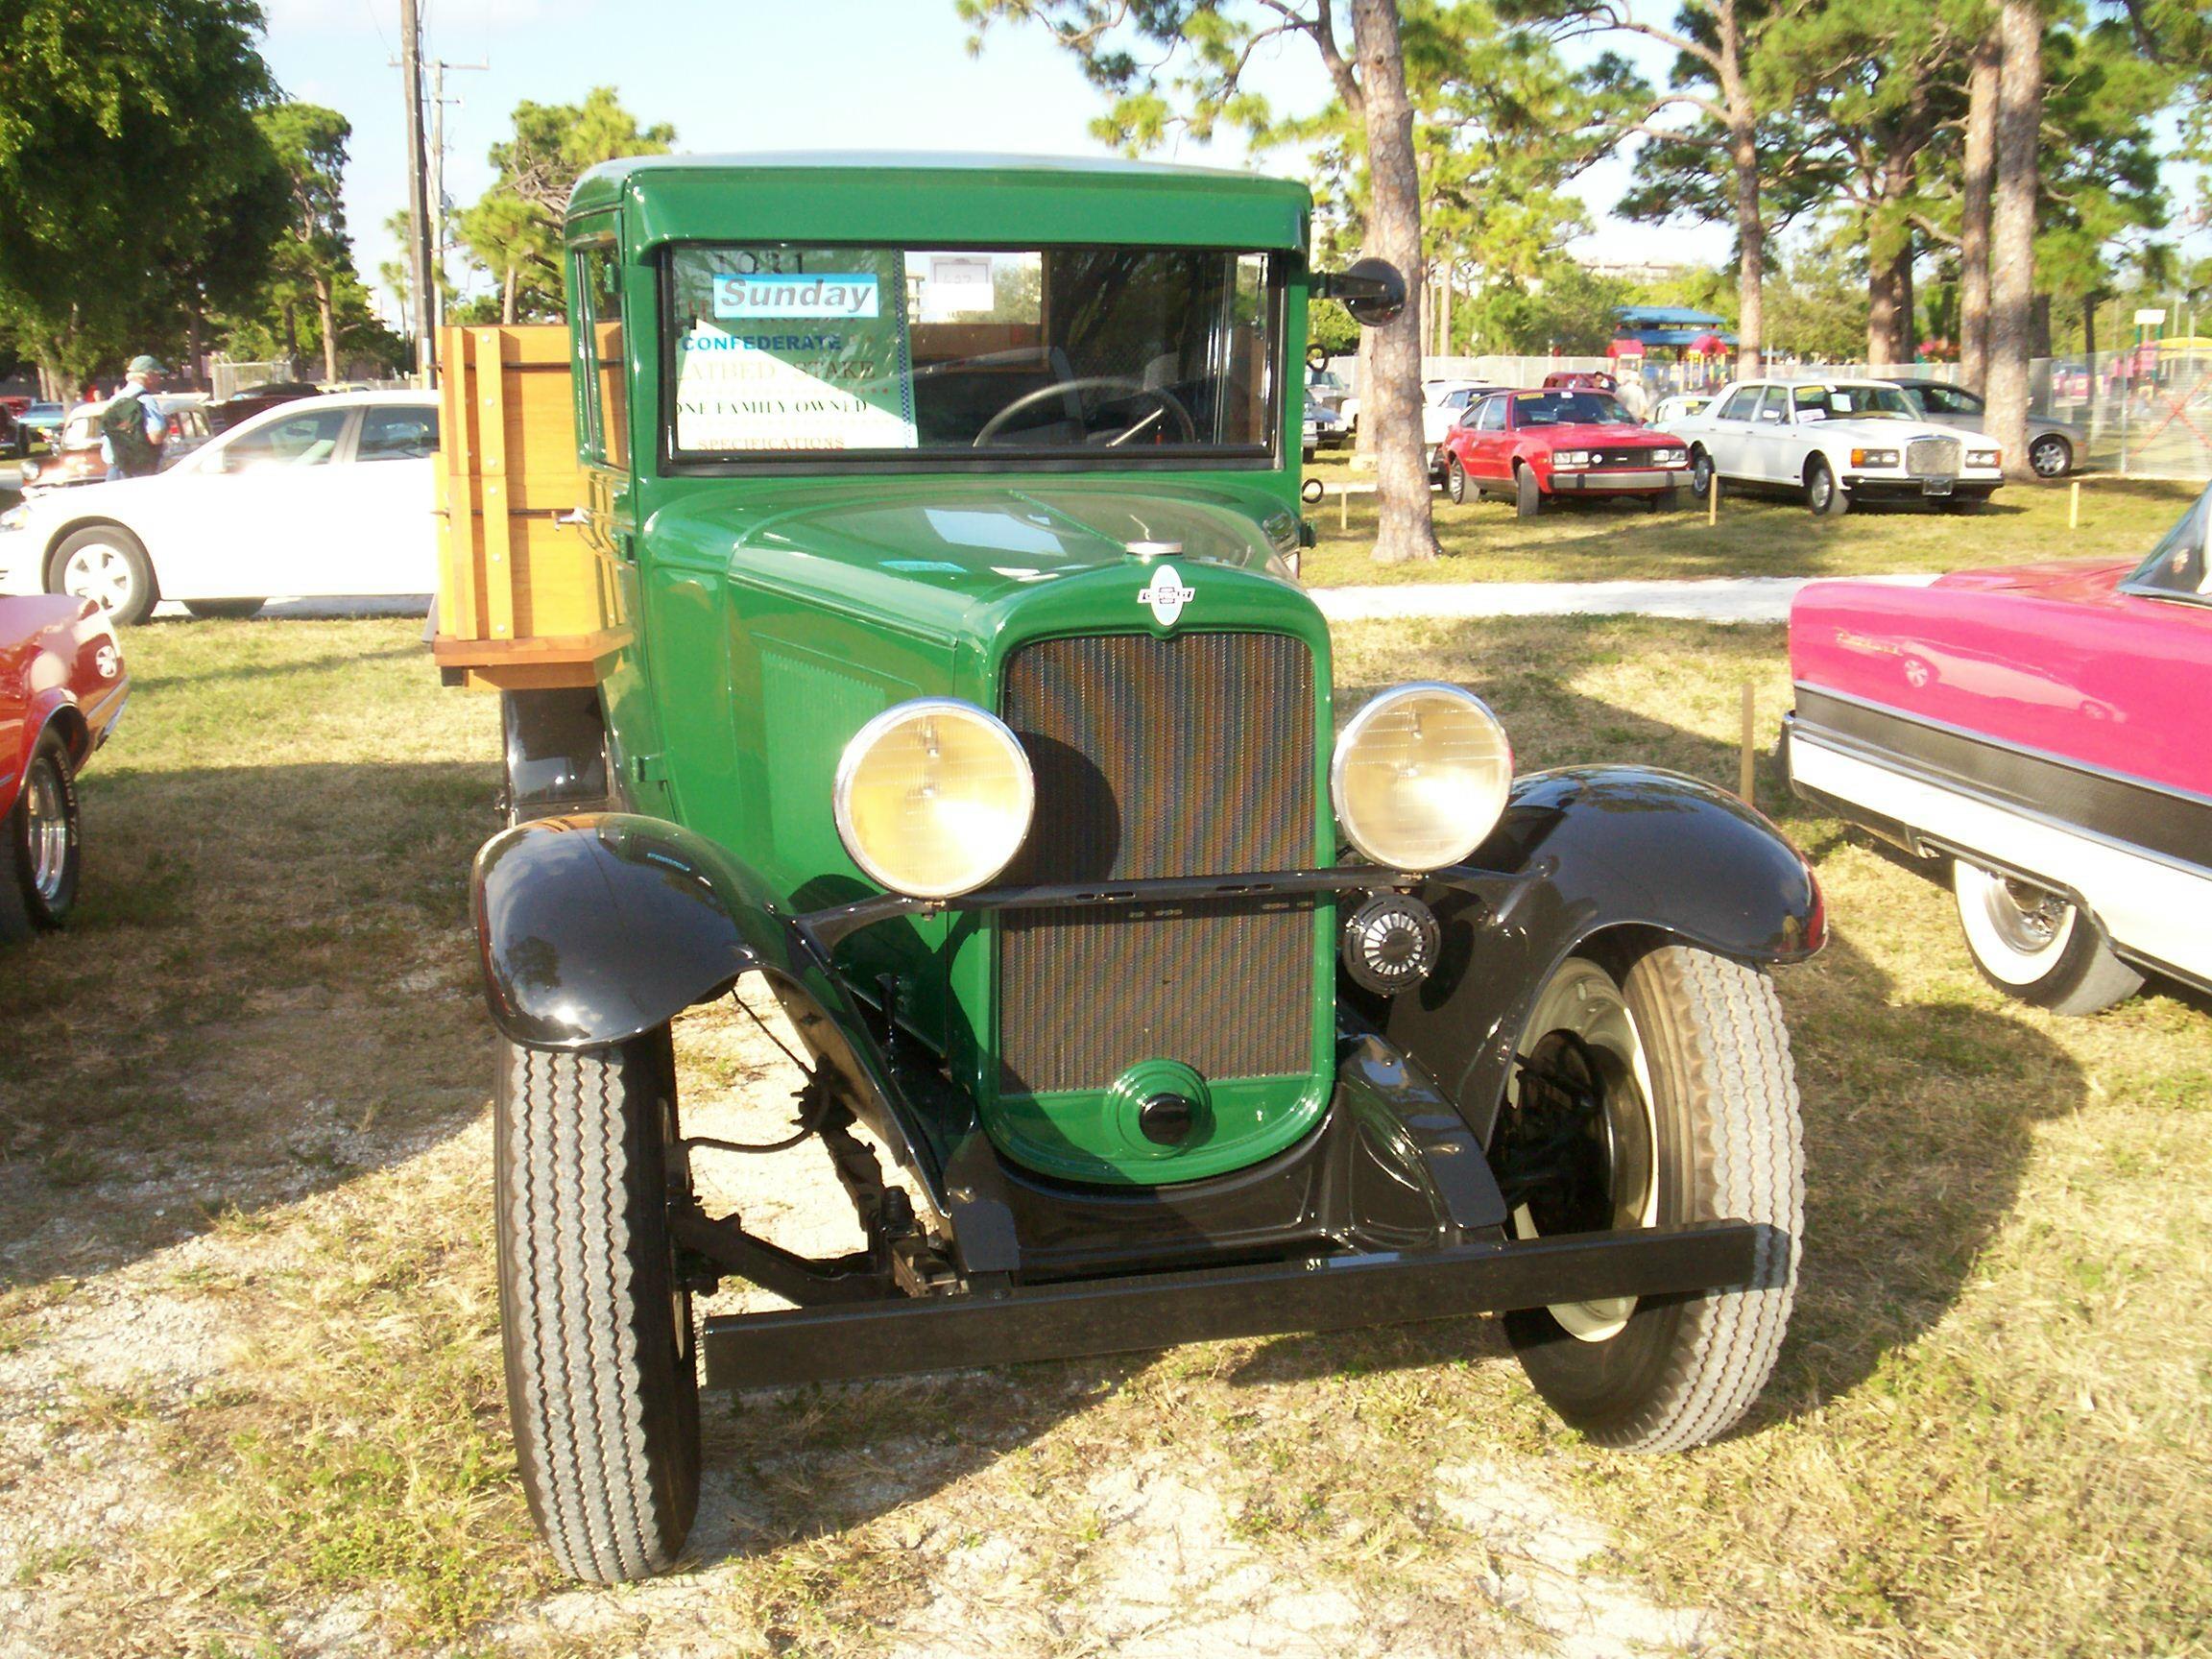 Derek
showed up and we went down to the Rupp auction in Fort Lauderdale
around two. A buyer's market. lotta nice cars selling low, especially
musclecars. I didn't see this Chevrolet Confederate truck in the
catalog. Single family owner. Has a 194 ci inline engine advertising
something like 26 hp. Pristine 'cept for a couple of big dents in the
pumpkin cover. Mechanical brakes.
Derek
showed up and we went down to the Rupp auction in Fort Lauderdale
around two. A buyer's market. lotta nice cars selling low, especially
musclecars. I didn't see this Chevrolet Confederate truck in the
catalog. Single family owner. Has a 194 ci inline engine advertising
something like 26 hp. Pristine 'cept for a couple of big dents in the
pumpkin cover. Mechanical brakes.
January 4th 2009 Didn't get much done yesterday other than monthly maintenance on BillyBob and Deerslayer. This morning, I started up the habit of making Fort Lauderdale Beach cruises again. Deerslayer is the only vehicle getting any exercise and the other ones need to be run more. BillyBob ran good. I've got a vibration at fifty mph but that's most likely due to the spare tire not being balanced. It was a pleasant run with only a little light rain.
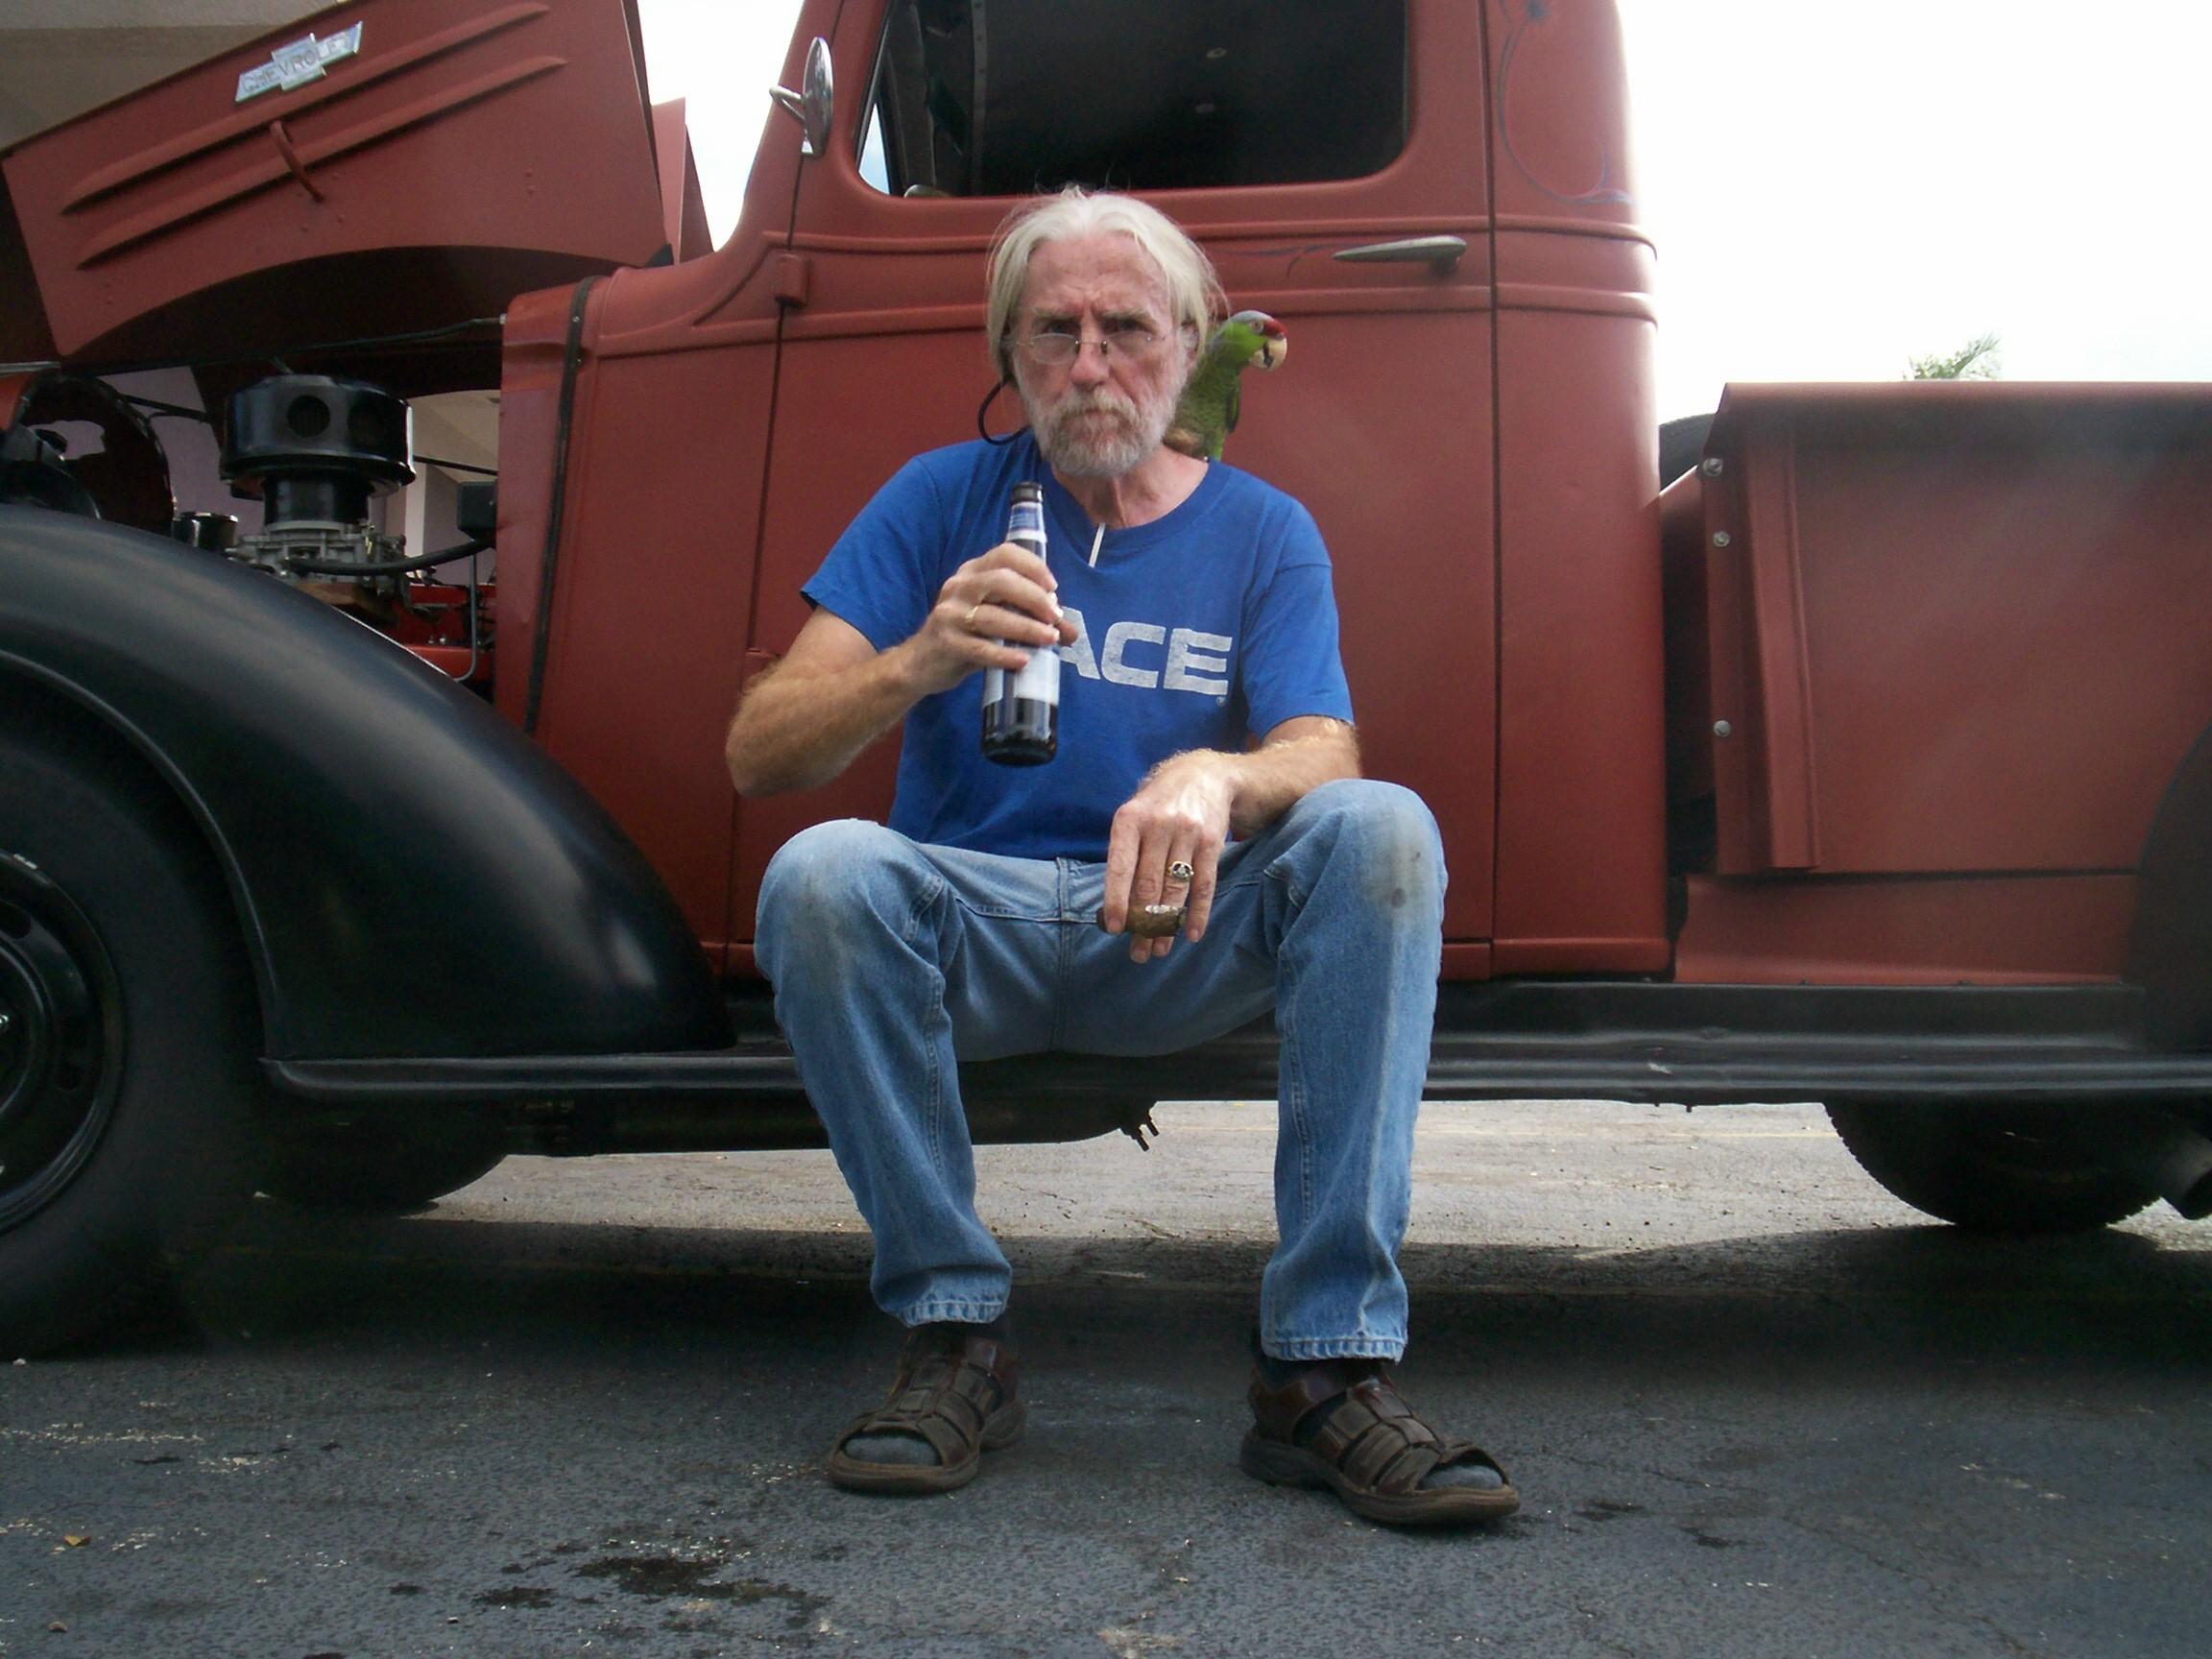 January
10th 2009 Nice weather
today, no rain in sight. Got started by performing quarterly maintenance
on both BillyBob and Deerslayer. Messed around after that with computer
work. The computer work caused me to break out the Beer of the day
early which turned out to be Sand Creek Brewing Company's Woody's
Wheat. Followed up with Samuel Adam's Boston Lager. Got krazy and took
Wingnut outside. First time for him without a cage around him in over
thirty years. I know I have a grim look here but he just dropped
ballast on my shirt when the flash went off on a previous try. He has
full flight capabilities and he did fly away at one point but I got him
back. All-in-all, a good day. What's better than ruminating on the
running board of your truck with a cigar and a cold one, your advisor
on your shoulder whispering "Sic transit gloria mundi" in your ear. I
topped it off with a cruise-in on the beach in Hollywood, Florida under
a very full moon and a calm ocean and, of course, strains of doo wop
music.
January
10th 2009 Nice weather
today, no rain in sight. Got started by performing quarterly maintenance
on both BillyBob and Deerslayer. Messed around after that with computer
work. The computer work caused me to break out the Beer of the day
early which turned out to be Sand Creek Brewing Company's Woody's
Wheat. Followed up with Samuel Adam's Boston Lager. Got krazy and took
Wingnut outside. First time for him without a cage around him in over
thirty years. I know I have a grim look here but he just dropped
ballast on my shirt when the flash went off on a previous try. He has
full flight capabilities and he did fly away at one point but I got him
back. All-in-all, a good day. What's better than ruminating on the
running board of your truck with a cigar and a cold one, your advisor
on your shoulder whispering "Sic transit gloria mundi" in your ear. I
topped it off with a cruise-in on the beach in Hollywood, Florida under
a very full moon and a calm ocean and, of course, strains of doo wop
music.
March 13th 2009, Friday the Little did I know when I wrote the above that Wingnut and I had few good days left. He took sick a few weeks thereafter. He didn't shake it off and the antibiotics I gave him didn't help. I got a travel cage for him and located the only avian certified vet in the county. I know while they were taking blood, Wingnut was sorry he nebber learned how to cuss me out. It turned out he had serious heart and liver problems but he was starting to get better after a week at the clinic. Last time I visited him on wednesday he was almost his old self. Then the clinic personnel found him dead in his incubator friday afternoon 3/6/9.
This is a milestone event for me. Wingnut was my feathered companion for 33 years. There was a good chance we would go all the way to the end together. Alas, it was not to be.
This is a short log entry but a life milestone is a good place to stop and publish. We've got an xtra hour of daylight now and I can work on the truck in the evenings again so the pace will pick up with the next entry.
When I went to pay the clinic bill on monday, the parrot in the incubator next to Wingnut's told me that Wingnut's last words were "I can't live thru another Carter administration!" Then he keeled over.
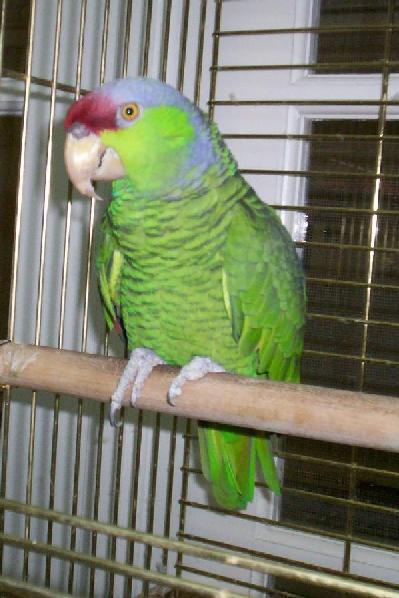
Volar con Dios, Wingnut
February 1976 - March 6, 2009
| < Back
to Intro |
You can email me at ![]() webmaster@laroke.com
webmaster@laroke.com
Issued Tuesday March 10, 2009
Updated Friday April 6, 2018
copyright © 1996-2018 Larry Robert Kephart all rights reserved
| | LRK Home | | Bio Info | | Krash Khronicles | | LAROKE | |
| | BettyLou | | BillyBob's Garage | | Rat Patrol | | Deerslayer | | Elvira | |
| | Land of the Free and Home of the Brave | |
| | Keppylou's Art | | WWI Soldier's Diary | |